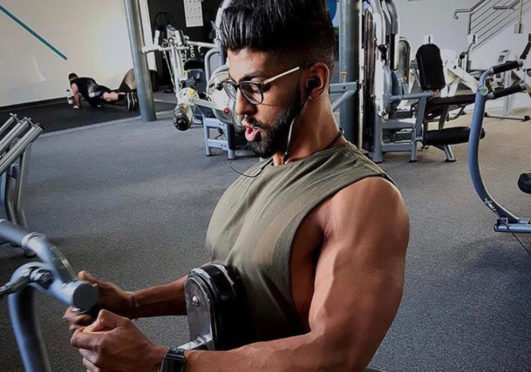
Whether you are missing the gym or piling on the lockdown pounds, it’s important to keep moving around as we spend more time at home. Vish Patel, a personal trainer based at PureGym in Dundee, wants to pass on his top exercises to shift any lockdown bulge and keep you in shape.
Vish of Vish Training is experienced in weight loss, muscle gain and fitness improvement programmes. If you wish to continue to train with him once social distancing restrictions are lifted email him at: vish94@btinternet.com or contact him through Facebook/Instagram: @vishtraining. In the meantime, lift yourself off your sofa and try out these basic – but effective – exercises:
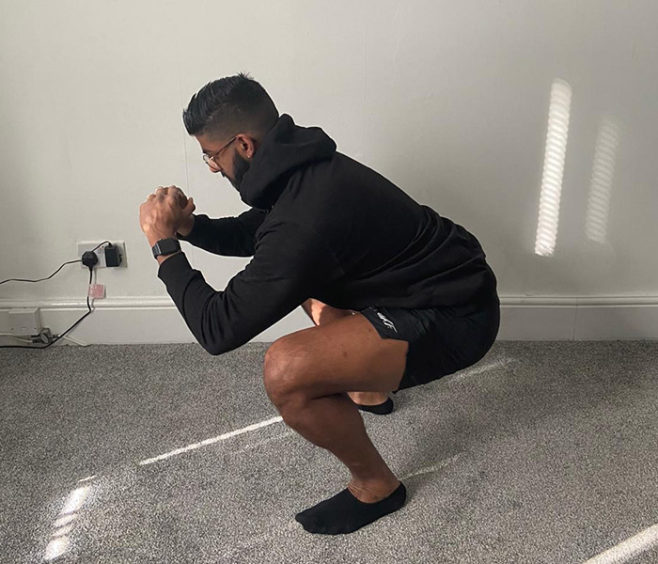
SQUATS
Here is how to perform the movement:
- Stand with feet shoulder width apart
- Push hips back as if you were sitting down on a seat
- Go down until you are down to less than 90 degrees (a little lower than your knees)
- Push through your heels and stand up tall
DON’T: Let your knees collapse inward.
DO: With your toes still pointing forward, focus on rotating your knees outward and use the torque it creates to support the movement.
DON’T: Round out your back.
DO: Tighten your core by pulling your belly button into your spine and keep your chest high throughout the entire squat. You can also put your arms out in front of you and try to keep them above eye level to encourage a high chest.
DON’T: Let your heels or toes come up.
DO: Lean back further than you think (pushing your hips back), as if you were sitting back on a seat so that your weight is mostly back on your heels. If this is difficult, you may want to work on your ankle mobility to increase your range of motion.
DON’T: Go down too shallow.
DO: Bring your hip just below 90 degrees with the floor by imagining a pencil trapped in your hip and you are trying to break it. This will help get you to that extra distance and activate all of those muscles you are trying to work.
DON’T: Let your feet turn too far out or in.
DO: Keep your feet facing directly forward or thinking of a clock, the 11 and 1 position. This will prevent any lower limb injury caused by the extreme angles created during a “duck foot” squat.`
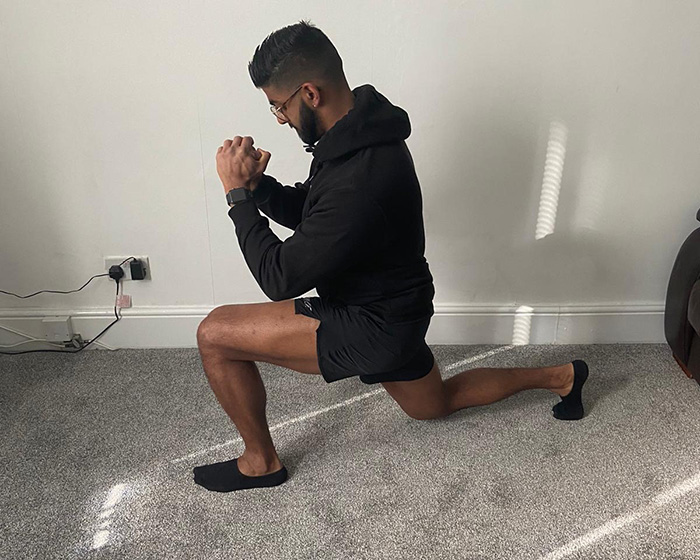
LUNGES
Here is how to perform the movement:
- Stand with feet shoulder width apart
- Take a large step forward with one leg
- Keep the majority of your weight on your front foot as you lower your hips, keeping the front foot flat and back heel lifted (on your toes)
- Lower your back knee until it almost touches the floor and the front knee is directly above the ankle, creating 90° bend in both knees
- Drive through the heel of your front foot and push yourself back up to your starting position
DO: Take a big step forward (a larger step than you would when walking)
DO: Keep your feet hip-width apart, to avoid walking a tightrope and wobbling to one side
DO: Engage your core and keep your back straight for stability during the entire movement
DO: Use your arms for extra balance by holding them out to your sides if needed
DO: Keep neck neutral by focusing on a point at eye level
DON’T: Let your knee extend beyond the toes of your leading leg.
DON’T: Let your rear knee rest on the ground (do hover just above the ground)
DON’T: Continue if any noticeable knee pain arises before or during the exercise
DON’T: Lean backwards, forwards or have your head up to the ceiling
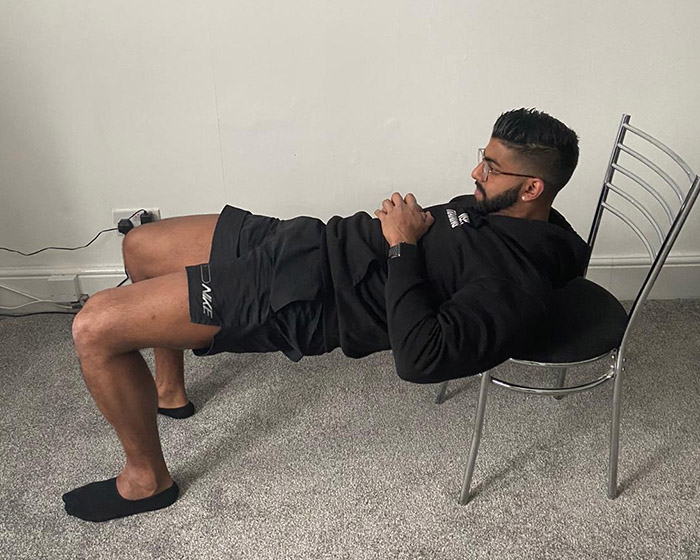
HIP THRUSTS (aka Back-Elevated Glute Bridge)
Here is how to perform the movement:
- Lie on the edge of the sofa with feet flat on the ground
- Let your hips dip down
- Squeeze your glutes (like you were going to crush a walnut with your cheeks)
TIP: Want to make this easier? Lie flat on the ground and do the exact same thing! You could even do this with a single leg at a time.
DO: Start with your shoulder blades against a bench.
DON’T: Lie on your neck. You may need to start with your bum slightly off the ground.
DO: Bend your knees to roughly 90 degrees and have your feet flat on the ground.
DON’T: Have your feet too far out or too far in otherwise you’ll feel this in your hamstrings or your quadriceps.
DO: Take a deep breath in and keep your core braced. As you squeeze your glutes, lift hips up and breath out (crush that walnut).
DON’T: Hyperextend your lower back when pushing up or you will find you will feel a sharp pain here.
DO: Make sure your neck stays neutral. Tuck your chin as you lift yourself off the floor.
DON’T: Let your head drop back otherwise this will make you hyperextend your back.
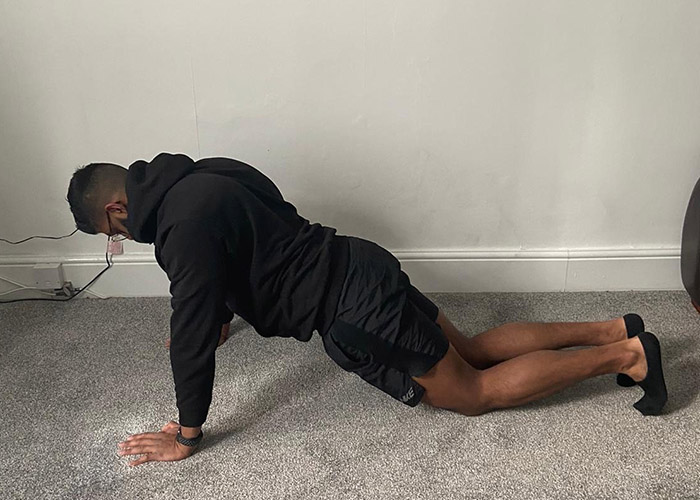
PRESS UPS
Here is how to perform the movement:
- Start in a high plank position with hands directly between your shoulders.
- Legs will be behind you with a straight back.
- Slowly lower yourself to the ground with your chest, just before you touch the ground, push through your hands and back to the starting positioning.
TIP: Want to make this easier? Try doing these on your knees. Top assume the proper position, same starting position as above but drop your knees to the floor. There should be a straight line from your knees, all the way to your head.
DO: Press away from the ground with your hands and spread your shoulder blades apart at the top of the move as you would in plank. Lift your chin and look in front of your hands about a foot or so to align your head with your spine.
DON’T: study the dirty floor between your hands. Your head is heavier than you think! If you let it dangle between your shoulders it pulls on your spine and upper back muscles.
DO: Move as a one full body movement without letting your body dip or pop up. Lowering your body all the way down then pressing back up the same way. The quieter and steadier your body during the move, the more you can focus on engaging your chest and triceps to do the work.
DON’T: Drop your hips, as this puts pressure on your lower back and don’t let your bum lift to the ceiling either.
DO: Keep your hands in one position. You are looking for elbows to drive out diagonally rather that to the sides or behind you.
DON’T: Move your hands throughout the movement. Keep steady, slow and keep your hands fully pressed against the crowd.
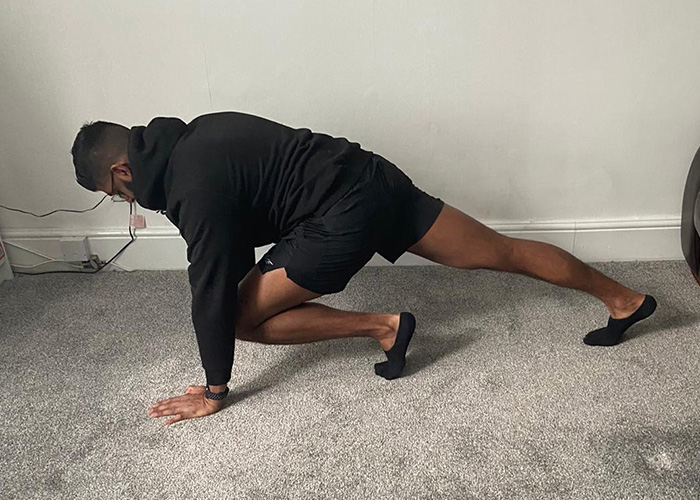
MOUNTAIN CLIMBERS
Here is how to perform the movement:
- Start in a high plank position with hands directly between your shoulders.
- Legs will be behind you with a straight back.
- Keep core engaged then begin by driving a knee towards your chest then alternate.
- Slowly increase intensity until it feels like you are running on the ground.
TIP: Want to make this easier? Try leaning against a step instead.
DO: Allow yourself to reset if you feel like you are coming out of position.
DON’T; Allow your back to sink to the ground or let your glutes go too high. Keep your back straight, you could imagine a straight line from your heels to your head.
DO: Keep a steady pace so you allow your core to full contract without compromising form.
DON’T: Go too fast otherwise your core won’t engage and this could happen by not letting your toes touch the ground.
DON’T: Be tempted to bounce on your toes. It may feel like you are working harder but again, you won’t be engaging your abs properly.
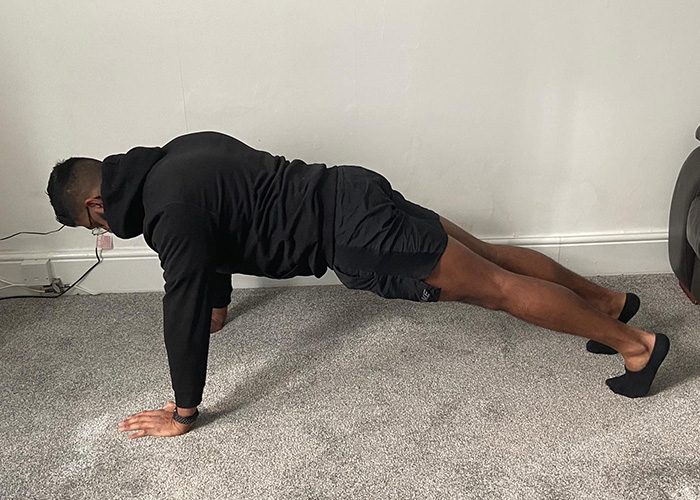
PLANK
Here is how to perform the movement:
- Very similar to a press up position
- Hands shoulder width apart and legs straight.
- Engage core and take big deep breaths
DO: press through the heels of your hands and spread your shoulder blades apart. If you allow your shoulders to hunch and move inward toward one another, this will put strain on your shoulder girdle and neck, and makes it very difficult to maintain proper form. So, stay STRAIGHT!
DON’T: Let your hips drop down. This will take your core out of the equation completely and will force tension onto your arms and feet to support the weight of your body. Don’t let your glutes lift into the air either as your core will no longer support you in this position.
DO: Focus on your breathing, this will allow you muscles to continuously oxygenate your muscles and it also makes it feel easier. Anything to pass the time quicker!
DON’T; Lose focus and let your head fall down. This will pull your spine out of alignment meaning your will start to round over. Look at your hands or your thumbs to stay in that neutral and stable position.
DO: Try different variations of planks as you get stronger. Side planks, forearms or even walking planks.
DON’T: Hold a plank for too long! If you start to feel yourself rounding or your hips dropping then you are putting too much strain on the muscle. Start with a short amount of time and work up!
*If you enjoyed this workout, or would like to know more about how you can stay in shape, then why not contact PT Vish and book a session with Vish Training? Email him at: vish94@btinternet.com or contact him through Facebook and Instagram: @vishtraining
![]()