Calendar An icon of a desk calendar. Cancel An icon of a circle with a diagonal line across. Caret An icon of a block arrow pointing to the right. Email An icon of a paper envelope. Facebook An icon of the Facebook "f" mark. Google An icon of the Google "G" mark. Linked In An icon of the Linked In "in" mark. Logout An icon representing logout. Profile An icon that resembles human head and shoulders. Telephone An icon of a traditional telephone receiver. Tick An icon of a tick mark. Is Public An icon of a human eye and eyelashes. Is Not Public An icon of a human eye and eyelashes with a diagonal line through it. Pause Icon A two-lined pause icon for stopping interactions. Quote Mark A opening quote mark. Quote Mark A closing quote mark. Arrow An icon of an arrow. Folder An icon of a paper folder. Breaking An icon of an exclamation mark on a circular background. Camera An icon of a digital camera. Caret An icon of a caret arrow. Clock An icon of a clock face. Close An icon of the an X shape. Close Icon An icon used to represent where to interact to collapse or dismiss a component Comment An icon of a speech bubble. Comments An icon of a speech bubble, denoting user comments. Comments An icon of a speech bubble, denoting user comments. Ellipsis An icon of 3 horizontal dots. Envelope An icon of a paper envelope. Facebook An icon of a facebook f logo. Camera An icon of a digital camera. Home An icon of a house. Instagram An icon of the Instagram logo. LinkedIn An icon of the LinkedIn logo. Magnifying Glass An icon of a magnifying glass. Search Icon A magnifying glass icon that is used to represent the function of searching. Menu An icon of 3 horizontal lines. Hamburger Menu Icon An icon used to represent a collapsed menu. Next An icon of an arrow pointing to the right. Notice An explanation mark centred inside a circle. Previous An icon of an arrow pointing to the left. Rating An icon of a star. Tag An icon of a tag. Twitter An icon of the Twitter logo. Video Camera An icon of a video camera shape. Speech Bubble Icon A icon displaying a speech bubble WhatsApp An icon of the WhatsApp logo. Information An icon of an information logo. Plus A mathematical 'plus' symbol. Duration An icon indicating Time. Success Tick An icon of a green tick. Success Tick Timeout An icon of a greyed out success tick. Loading Spinner An icon of a loading spinner. Facebook Messenger An icon of the facebook messenger app logo. Facebook An icon of a facebook f logo. Facebook Messenger An icon of the Twitter app logo. LinkedIn An icon of the LinkedIn logo. WhatsApp Messenger An icon of the Whatsapp messenger app logo. Email An icon of an mail envelope. Copy link A decentered black square over a white square.

Make this delicious three-ingredient Crispy M&M’s Fudge in the microwave in minutes

Post Thumbnail

Julia Bryce reveals how to make this colourful fudge in less than 10 minutes.

When it comes to baking, I’m all about minimum effort, maximum reward.

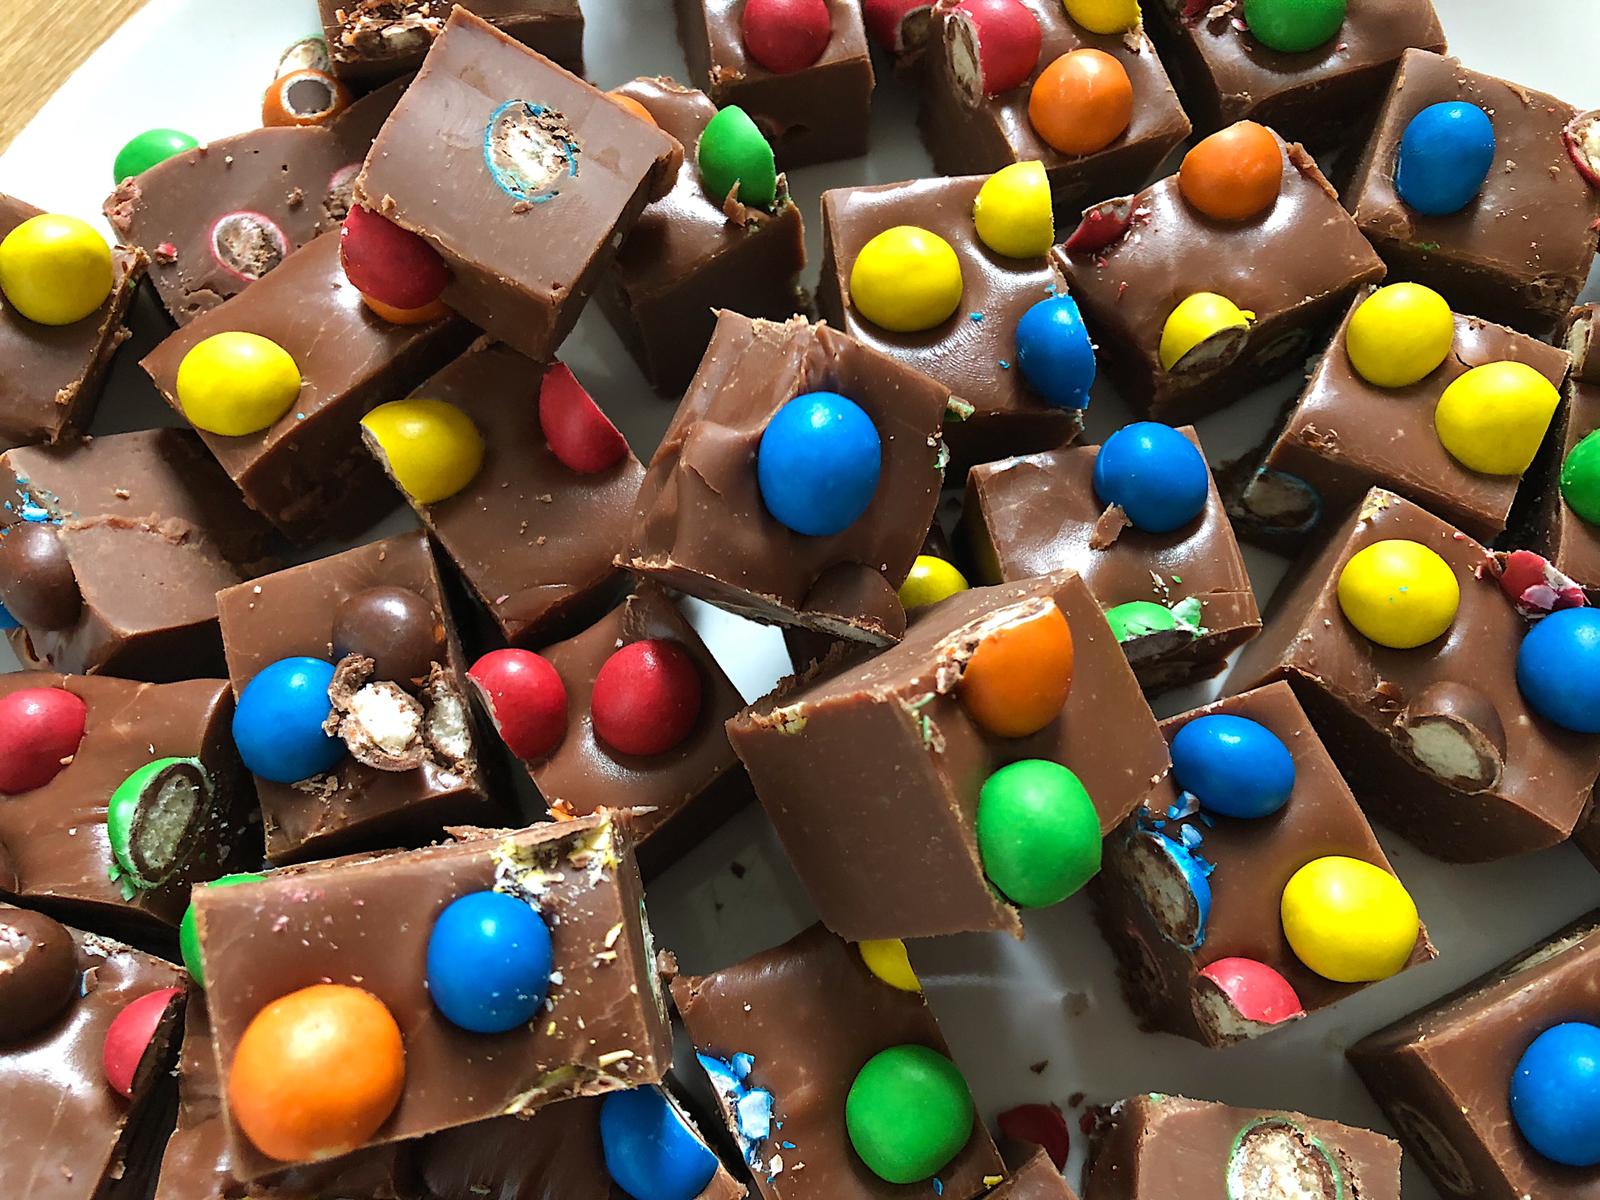
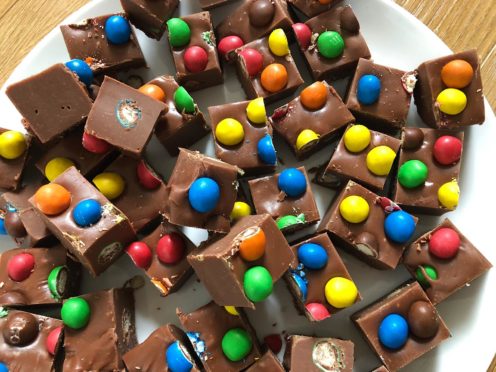
And that’s exactly what this Crispy M&M’s Fudge recipe is.

Minutes of minimal work with a huge supply of tasty fudge which I’ll be enjoying for weeks by the looks of it.

The slab of fudge on a plate before it is chopped up

The microwave actually does most of the work, meaning all you have to do is buy the three ingredients, pour them into a bowl, and let it do the rest.

Once the mixture is all melty, pour it into your dish, top with tasty treats, bang it in the fridge to cool and, hey presto, you’re onto a winner.

This fudge is so simple to make so why not give it a go yourself?


Crispy M&M’s Fudge

Ingredients:
  •  450g milk chocolate
  • 1 tin (397g) of sweetened condensed milk
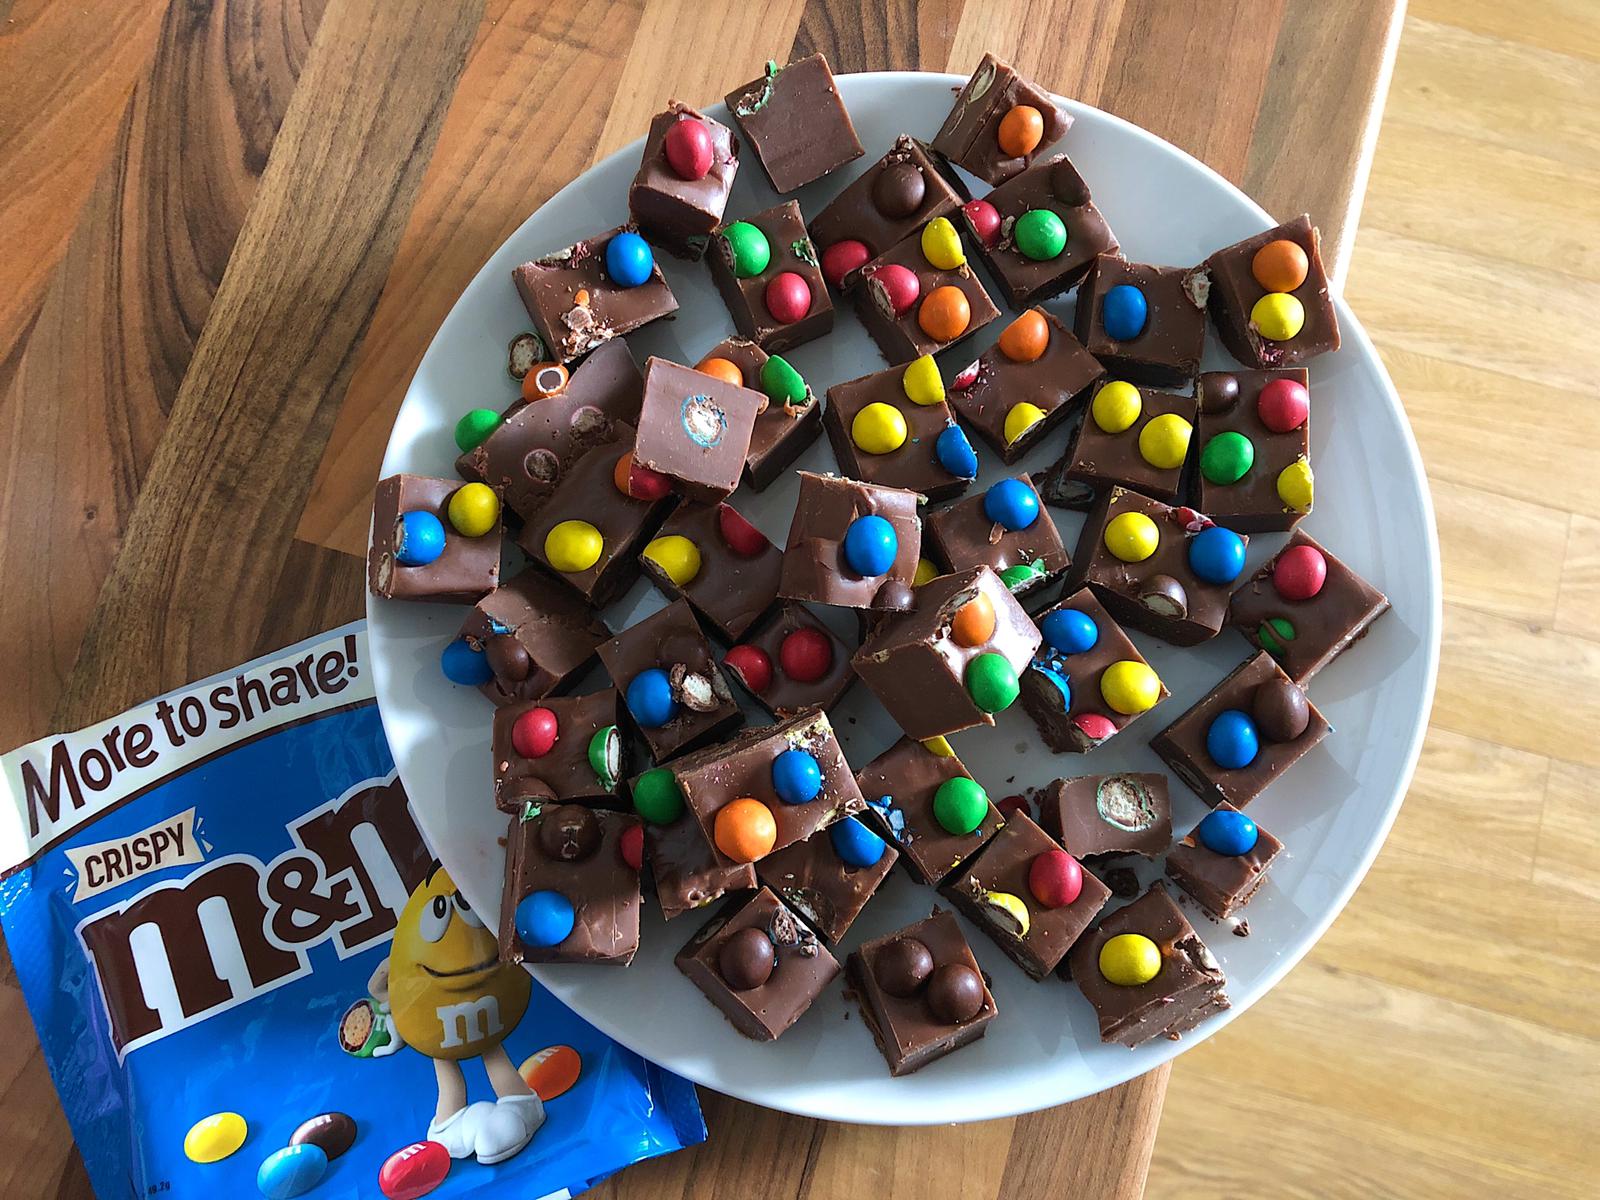
  • 1 share bag (246g) of crispy M&M’s
Method:
  1. Put the chocolate and the sweetened condensed milk in a large microwaveable bowl. Heat in the microwave on high for around five minutes. Remove the bowl every minute and stir together.
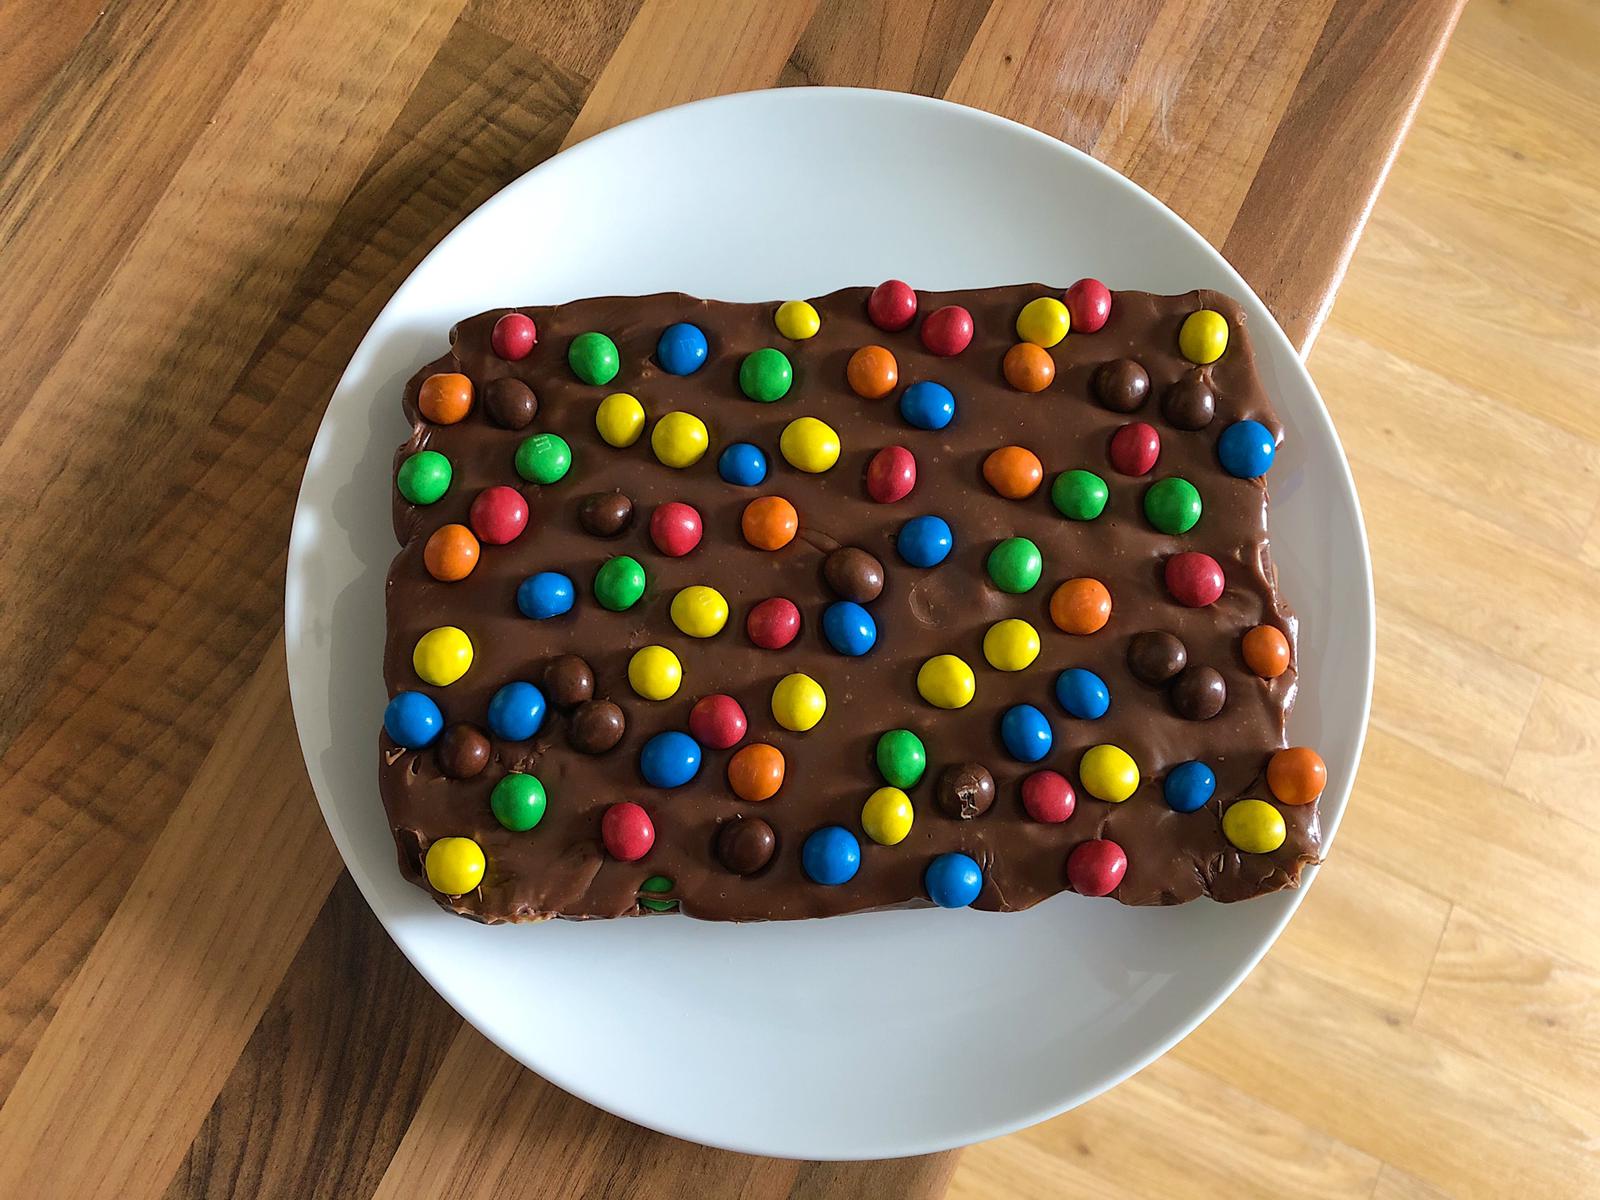
  2. Pour half of the warm fudge mixture into a square tin (or ceramic serving dish in my case) which has been lined with baking parchment. Grab your crispy M&M’s and scatter around half of them across the mixture.
  3. Pour the remainder of the fudge mixture on top and scatter the remaining M&M’s on top to decorate it. (I picked out some of the brown ones as I wanted it to look as colourful as possible).
  4. Leave at the side for around an hour. Put in the fridge to cool and set.