Calendar An icon of a desk calendar. Cancel An icon of a circle with a diagonal line across. Caret An icon of a block arrow pointing to the right. Email An icon of a paper envelope. Facebook An icon of the Facebook "f" mark. Google An icon of the Google "G" mark. Linked In An icon of the Linked In "in" mark. Logout An icon representing logout. Profile An icon that resembles human head and shoulders. Telephone An icon of a traditional telephone receiver. Tick An icon of a tick mark. Is Public An icon of a human eye and eyelashes. Is Not Public An icon of a human eye and eyelashes with a diagonal line through it. Pause Icon A two-lined pause icon for stopping interactions. Quote Mark A opening quote mark. Quote Mark A closing quote mark. Arrow An icon of an arrow. Folder An icon of a paper folder. Breaking An icon of an exclamation mark on a circular background. Camera An icon of a digital camera. Caret An icon of a caret arrow. Clock An icon of a clock face. Close An icon of the an X shape. Close Icon An icon used to represent where to interact to collapse or dismiss a component Comment An icon of a speech bubble. Comments An icon of a speech bubble, denoting user comments. Comments An icon of a speech bubble, denoting user comments. Ellipsis An icon of 3 horizontal dots. Envelope An icon of a paper envelope. Facebook An icon of a facebook f logo. Camera An icon of a digital camera. Home An icon of a house. Instagram An icon of the Instagram logo. LinkedIn An icon of the LinkedIn logo. Magnifying Glass An icon of a magnifying glass. Search Icon A magnifying glass icon that is used to represent the function of searching. Menu An icon of 3 horizontal lines. Hamburger Menu Icon An icon used to represent a collapsed menu. Next An icon of an arrow pointing to the right. Notice An explanation mark centred inside a circle. Previous An icon of an arrow pointing to the left. Rating An icon of a star. Tag An icon of a tag. Twitter An icon of the Twitter logo. Video Camera An icon of a video camera shape. Speech Bubble Icon A icon displaying a speech bubble WhatsApp An icon of the WhatsApp logo. Information An icon of an information logo. Plus A mathematical 'plus' symbol. Duration An icon indicating Time. Success Tick An icon of a green tick. Success Tick Timeout An icon of a greyed out success tick. Loading Spinner An icon of a loading spinner. Facebook Messenger An icon of the facebook messenger app logo. Facebook An icon of a facebook f logo. Facebook Messenger An icon of the Twitter app logo. LinkedIn An icon of the LinkedIn logo. WhatsApp Messenger An icon of the Whatsapp messenger app logo. Email An icon of an mail envelope. Copy link A decentered black square over a white square.

Dundee: What the Opta stats tell us – key man, top defender and how St Mirren countered Dee threat

Paul McMullan, Jason Cummings and Jordan Marshall played key roles in Dundee's Premiership opener.

Dundee are back in the top flight of Scottish football for the first time in three years.

That means more coverage, more scrutiny and more drama around the Dark Blues.

It also means we can tap into the knowledge of our friends at Opta Sports to see what’s making James McPake’s side tick each week.

Without going too deep into Opta’s myriad numbers and graphs to bore readers to tears, we’ve picked out four snippets from Saturday’s 2-2 draw with St Mirren.
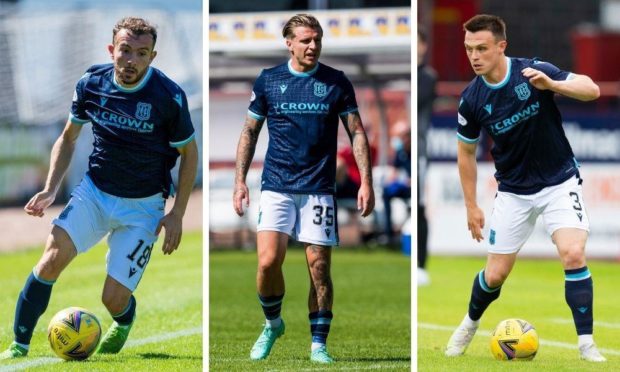
Jordan Marshall

Average positions for Dundee (left) and St Mirren (right).

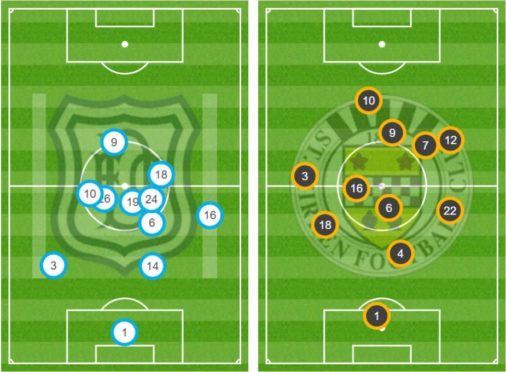
A big part of Dundee’s strategy is to get Marshall (No 3) bombing up and down that left wing as Paul McGowan (No 10) steps inside.

In Marshall, McPake has a full-back and winger rolled into the one player.

However, the introduction to top flight football showed St Mirren knew that threat and they countered it.

The Buddies pushed Marshall back and denied him many opportunities to power forward.

Heat maps: Jordan Marshall (left), Jamie McGrath (right).

Jamie McGrath (No 7) is St Mirren’s playmaker but he took up station on the right wing, teaming up with wing-back Jay Henderson (No 12) to keep Marshall occupied.

The one time he got free, he punished them by setting up Jason Cummings.

Key man

Quite rightly, goalkeeper Adam Legzdins was given Man of the Match on Saturday after making a number of crucial saves.

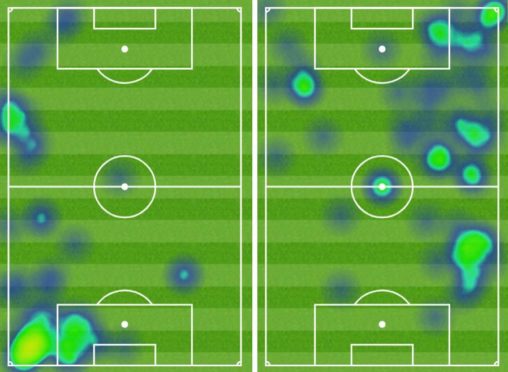
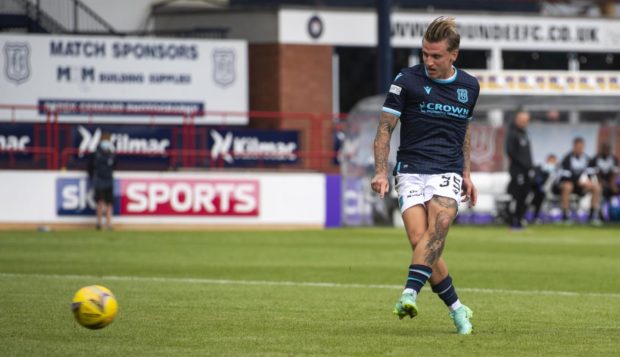
However, a delve into Opta’s stats reveals Paul McMullan was front and centre of everything positive coming from Dundee.

Officially he’s not been credited with an assist for the opening goal because it was a St Mirren man putting through his own net.

However, he did make more key passes than anyone else in dark blue – that’s passes that lead to a shooting opportunity.

McMullan made three of those and had two shots on goal as well as providing the most crosses in open play alongside Charlie Adam with four.

In addition, he also made a goal-saving interception in the opening half.

Top defender

Lee Ashcroft was a man mountain for Dundee last season and showed his power once more in the top flight.

He was beaten in his first challenge early on as St Mirren opened the scoring but he found his feet soon after.

Jordan McGhee and Ryan Sweeney made three clearances each, Joe Shaughnessy and Charles Dundee made four – Ashcroft made a massive 11 during the 90 minutes.

The big defender won 65% of his duels, behind Sweeney in those stakes but made 10 more during the 90 minutes.

Dundee danger man

Jason Cummings made it 2-2.

Of course, that was Cummings. Though he was a substitute, the Scotland international had the most touches inside the St Mirren area of any attacker.

One of those seven touches was a goal and two others tested Jak Alnwick in goal. In total he had five shots, three of which hit the target.

One, of course, earned his side a point.


To sign up for our dedicated Dundee United, Dundee and St Johnstone newsletters, click HERE.