Calendar An icon of a desk calendar. Cancel An icon of a circle with a diagonal line across. Caret An icon of a block arrow pointing to the right. Email An icon of a paper envelope. Facebook An icon of the Facebook "f" mark. Google An icon of the Google "G" mark. Linked In An icon of the Linked In "in" mark. Logout An icon representing logout. Profile An icon that resembles human head and shoulders. Telephone An icon of a traditional telephone receiver. Tick An icon of a tick mark. Is Public An icon of a human eye and eyelashes. Is Not Public An icon of a human eye and eyelashes with a diagonal line through it. Pause Icon A two-lined pause icon for stopping interactions. Quote Mark A opening quote mark. Quote Mark A closing quote mark. Arrow An icon of an arrow. Folder An icon of a paper folder. Breaking An icon of an exclamation mark on a circular background. Camera An icon of a digital camera. Caret An icon of a caret arrow. Clock An icon of a clock face. Close An icon of the an X shape. Close Icon An icon used to represent where to interact to collapse or dismiss a component Comment An icon of a speech bubble. Comments An icon of a speech bubble, denoting user comments. Comments An icon of a speech bubble, denoting user comments. Ellipsis An icon of 3 horizontal dots. Envelope An icon of a paper envelope. Facebook An icon of a facebook f logo. Camera An icon of a digital camera. Home An icon of a house. Instagram An icon of the Instagram logo. LinkedIn An icon of the LinkedIn logo. Magnifying Glass An icon of a magnifying glass. Search Icon A magnifying glass icon that is used to represent the function of searching. Menu An icon of 3 horizontal lines. Hamburger Menu Icon An icon used to represent a collapsed menu. Next An icon of an arrow pointing to the right. Notice An explanation mark centred inside a circle. Previous An icon of an arrow pointing to the left. Rating An icon of a star. Tag An icon of a tag. Twitter An icon of the Twitter logo. Video Camera An icon of a video camera shape. Speech Bubble Icon A icon displaying a speech bubble WhatsApp An icon of the WhatsApp logo. Information An icon of an information logo. Plus A mathematical 'plus' symbol. Duration An icon indicating Time. Success Tick An icon of a green tick. Success Tick Timeout An icon of a greyed out success tick. Loading Spinner An icon of a loading spinner. Facebook Messenger An icon of the facebook messenger app logo. Facebook An icon of a facebook f logo. Facebook Messenger An icon of the Twitter app logo. LinkedIn An icon of the LinkedIn logo. WhatsApp Messenger An icon of the Whatsapp messenger app logo. Email An icon of an mail envelope. Copy link A decentered black square over a white square.

5 top pumpkin carving tips from Kirkcaldy crafter Pumpkin McFife

Pumpkin carving tips from expert crafter Pumpkin McFife.

Pumpkin carving – it isn’t the easiest of tasks, no matter your age.

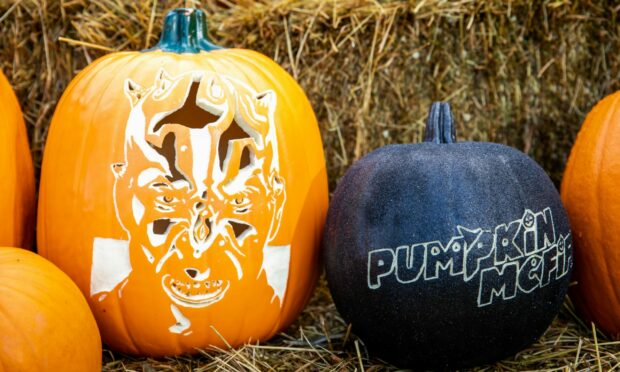
And so to help ease the pressure this Halloween, we bring you five top tips to achieve a professional finish from expert carver, Pumpkin McFife.

The Kirckaldy crafter – real name James Phimister – has been at the game for ten years and is making his mark amongst the best in America.

Here he shares some of his top pumpkin carving tips to help you achieve a show-stopping display.

1. Bottoms up!

The first of Pumpkin McFife‘s carving tips is to cut from the bottom up.

James Phimister, aka Pumpkin McFife, at his Fife home. Image: Steve Brown / DC Thomson.

Remove a circle shape from the base just big enough to get your hand inside – no cutting a lid from the top, it will only fall inside as the fruit decays.

Clean up the removed section. This will be the stand for your light, place the pumpkin back on top of it after it is carved.

Then take out all the guts and seeds from the inside using a clay scoop, or metal spoon.

Don’t throw away the insides, he says, as the flesh is great for pumpkin pie and the seeds can be kept and planted outside next year.

2. Keep it thin

Trim off the carving wall from the inside so that there is less to cut or saw through. If the wall is too thick a carving saw will not get through it, says James.

3. Pre-plan your design

Use a stencil if possible, James suggests. These are available for cheap at a wide range of shops during this time of year, including supermarkets.

James Phimister shares his pumpkin carving tips. Image: Steve Brown / DC Thomson.

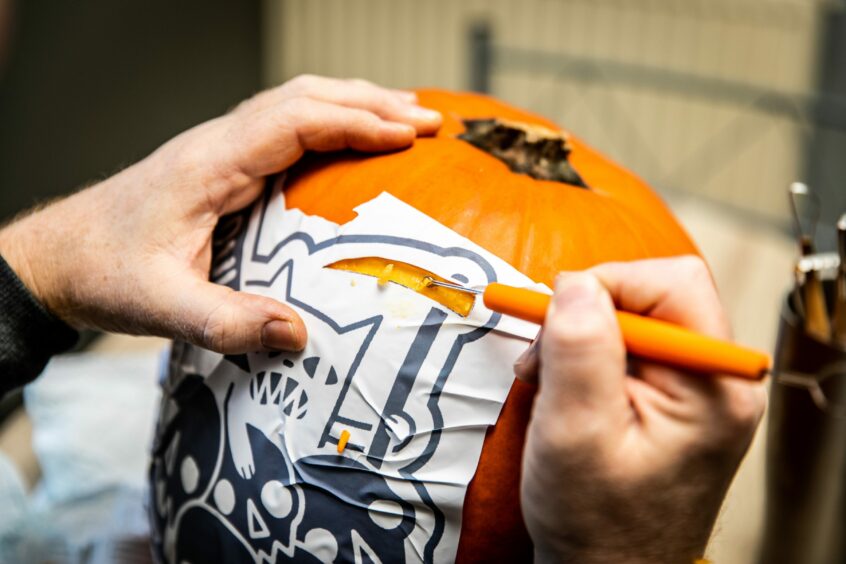
Or draw your own design straight onto the pumpkin using a permanent marker or felt tip pen, then cut around the outline.

4. Think about shading

When carving your design, remember to think about shading, James says. Shallow cuts just below the skin will create dark areas and deeper cuts into the flesh will create lighter areas.

5. Wash it out

After carving your pumpkin, you can wash the inside with bleach to delay the decaying process, says James.

Keep children away from the bleach and use a battery-operated LED light rather than a naked candle due to fire risk.

“Washing the pumpkin out with bleach is supposed to stop disease and rot and make it last longer,” he said.

“I’ve tried with bleach and without but I’ve never really worked out if it does actually make it last longer but there’s nothing worse than spending 18 hours on a design then watching it rot.”

Anyone tempted to try this is advised to follow usual safety precautions associated with bleach, such as wearing gloves and using in a well ventilated area.

Fife pumpkin carving artist shows off his finest designs as he reveals ‘big plans’ for his work

Conversation