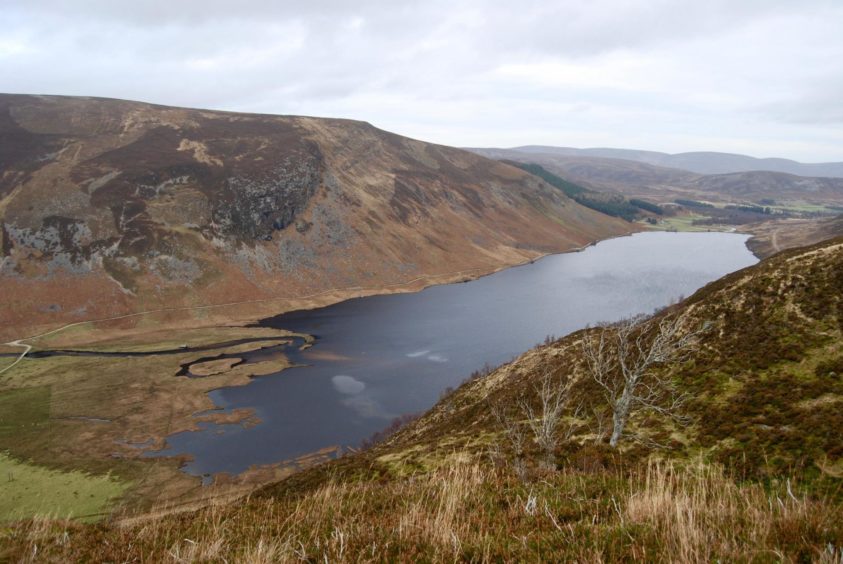
The colours were autumnal yet the feel was closer to winter as I walked the track along the side of Loch Lee, the early light subdued, the waters harried by a chilly wind from the west.
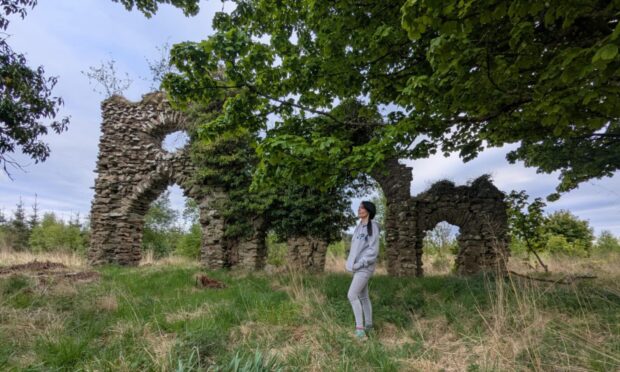
A few minutes earlier, I had been one of a dozen or so heading out of the car park at the head of Glen Esk, surprisingly busy for a cold Sunday morning in late November. The company was brief, however, as everyone else took a swift right turn for Mount Keen while I continued straight on past Invermark Castle and the walled ruins of Glenesk Old Parish Church.
I had expected maybe one or two to be going my way, either to the popular Falls of Unich or any of the tops which surround around the Water of Lee, but for now I had the place to myself. The route I had chosen would ensure it stayed that way for the rest of the day.
I was heading for the wide rolling ridge along the south side of the loch, the rounded summits of Burnt Hill and Cairn Caidloch, and then dropping down into lonely Glen Effock to complete the loop.
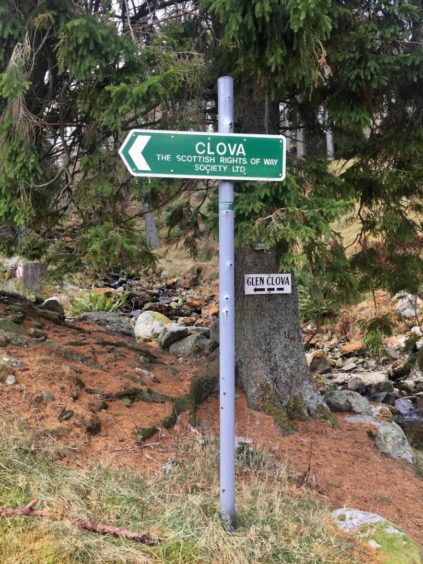
Leaving the track at the end of the loch, I turned left over a bridge and then passed the farm buildings at Inchgrundle before curving right at the signpost signalling the pedestrian highway over to Clova.
The track quickly degenerated into a grassy path following the Burn of Tarsen uphill. Shortly after passing a lovely little waterfall, it starts to become more indistinct.
Some maps show a path junction marking an obvious turn, others a gap between them. I found it prudent to leave the path when it reached a crossing of the stream, staying on a direct line upwards by the water. The skyline was filled with the silhouettes of hares watching my progress, and after a short distance, I connected with a solid path running sharply east back across the hillside.
This rose gently through the heather, providing grand views down the length of the loch as it turned over increasingly ice-coated patches to the unmarked summit of Burnt Hill, the highest point of the walk.
Across the water, Monawee was a mottled riot of shapes and colours, while beyond that Mount Keen was being washed in rays of sunshine. It was a different story off to the west, Lochnagar’s peaks dusted in snow, the whiteness standing out against the oncoming bubbles of grey.
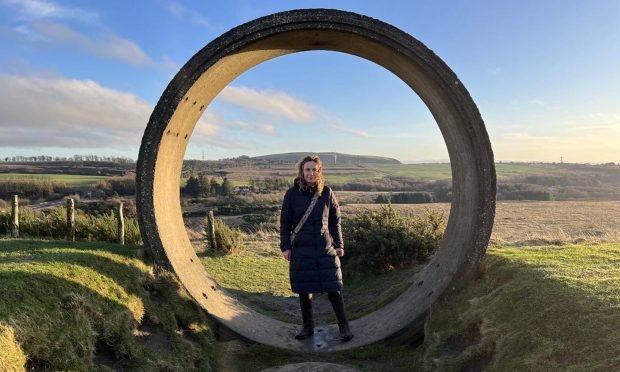
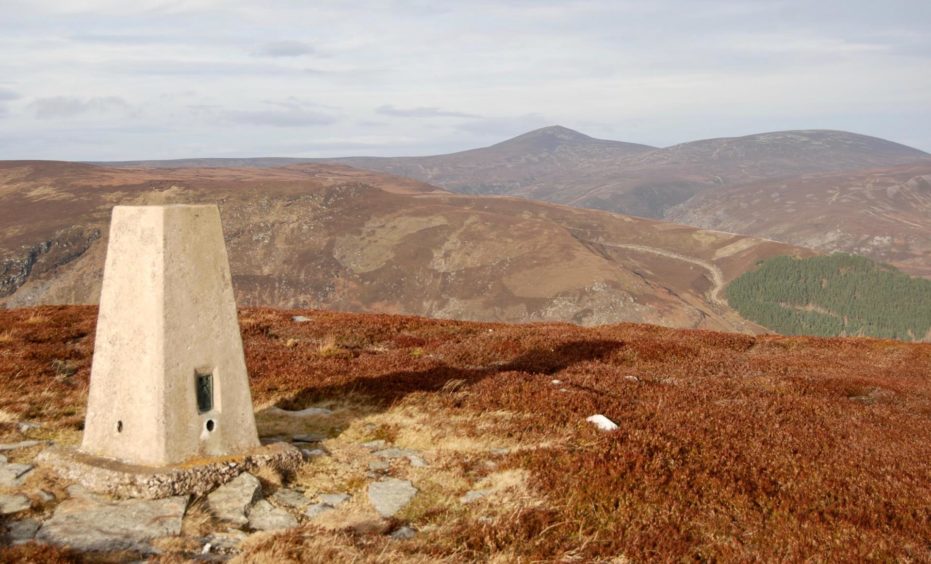
The bite of the wind drove me smartly on towards Cairn Caidloch, first to two curious and rather out of place boulder-clad bumps decorated with a few cairns, then over to the trig point. The true summit is said to be some 50 metres to the south.
The track dropped in a lazy series of turns past grouse butts and stacked pencil cairns, the Maule Monument on Hill of Rowan prominent over the pastoral patchwork of greens to the east, with Mount Battock providing a higher backdrop.
Before too long, I met another track coming down Glen Effock, accompanied by the rumbling rhapsody of the Water of Effock as it tumbled down from the confines of this hidden, lesser explored glen.
Now with grassier underfoot conditions, I made my way down to the farm, where two ponies straddling the track seemed particularly interested by my approach. As I made for the gate into the yard, they followed closely and it took a bit of careful manoeuvring to stop them making a break for it.
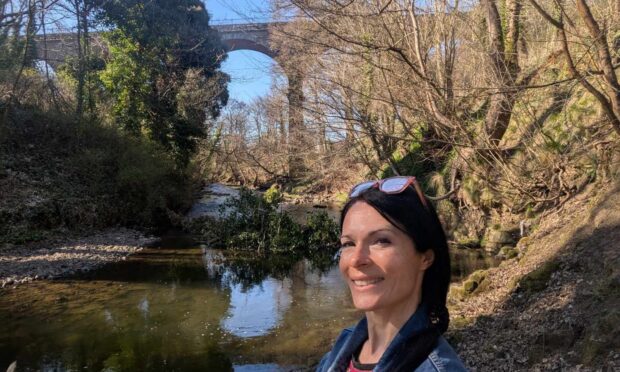
A short leafy stretch of road led to a right turn and a quick left to a wrought-iron bridge, and then it was just a case of walking out to the road for the short hop back to the car park, now full to overflowing.
It always feels strange to rejoin the crowds after being solo for so long. If you are looking for a few hours of solitude in this part of the world, then this is the walk for you.
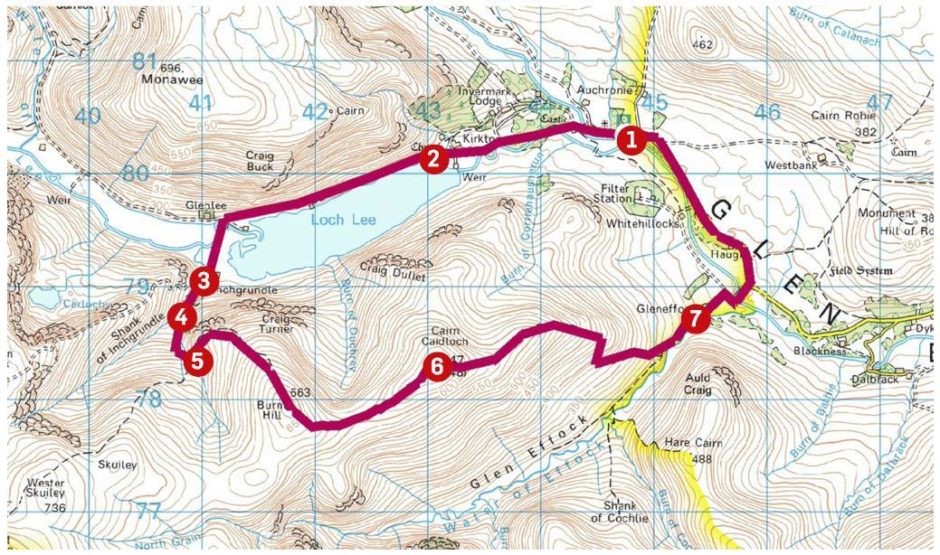
Route:
1. From car park head west past Lochlee Church, cross bridge and take track straight on passing Invermark Castle to Glenesk Old Parish Church ruins.
2. Continue on track along Loch Lee for 2km then turn left over bridge heading to Inchgrundle.
3. After passing the buildings, follow track (signed Clova) which curves gently uphill to the right.
4. Pass a small waterfall and when the path turns to cross the water, leave it and keep following the stream uphill over rougher ground until you connect with a substantial path running east on the hillside above the loch.
5. The path weaves gently to the unmarked summit of Burnt Hill where you should take the left-hand branch leading on to Cairn Caidloch.
6. Pass two boulder-clad, cairned bumps and continue to the trig point, then keep following the track down until it joins another track coming down Glen Effock to reach the farm.
7. Go through a metal gate to pass through the farmyard to a tarred road and go right then left to an iron bridge. Cross it and continue on to connect with the main road which is followed west (with care) for 1.5km back to the car park.