Flowers are beautiful but they don’t last forever. Gayle attempts to enjoy them for a bit longer via the art of flower pressing.
There was a flash and a loud bang.
And then the air filled with acrid smoke and the distinctly unpleasant aroma of burning flowers.
This was my mum’s attempt at speeding up the process of pressing flowers… in the microwave.
We had been toying with the idea of doing this for weeks, and finally, the day of experimentation had come.
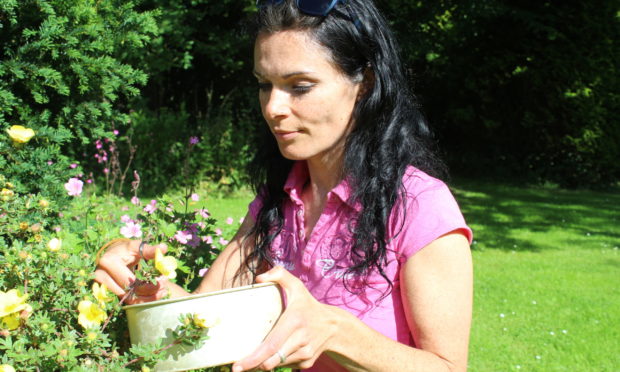
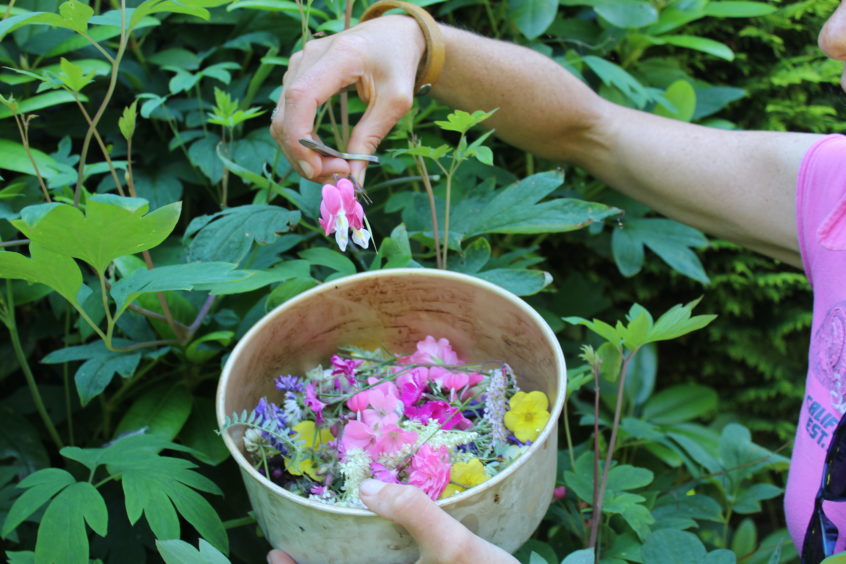
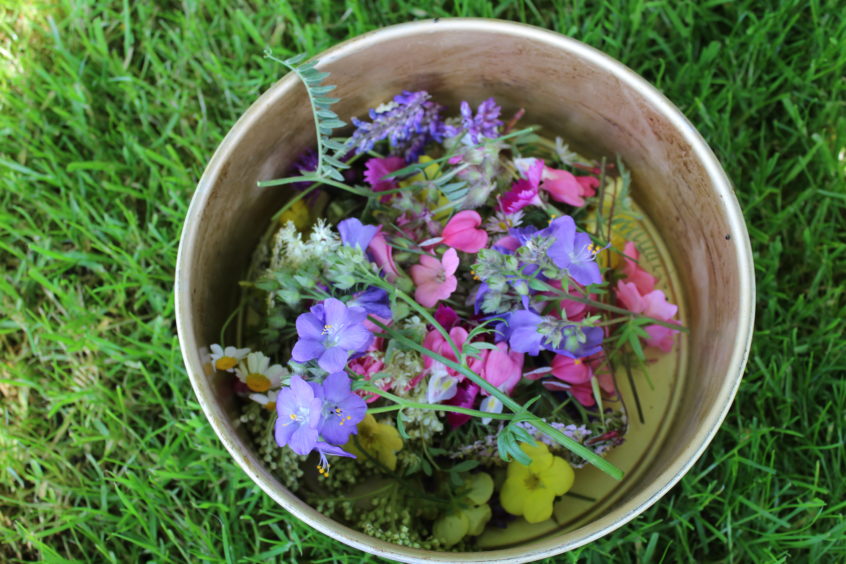
We waited for a dry, sunny afternoon before we were inspired to forage for pretty flowers – mainly wild species – in and around the garden and along the driveway.
These included buttercups, daisies, periwinkle, meadowsweet, cow parsley, rambler roses, purple vetch, Welsh poppies, yarrow, potentilla, comfrey, campion, geranium, pinks, and my personal favourite – love-lies-bleeding.

As I was looking online for inspiration on what to do with them, I reflected back to my childhood – which was the last time I attempted to press flowers.
I was about five years old and, amazingly, I had the patience to do it the “long way”.
This meant sticking my carefully gathered blooms and buds inside a heavy book and waiting for three or four weeks.
But the results, when they came, were great (in the mind of a five-year-old girl, at least) and I was so proud that I glued them into a scrap book.
Alas, this ended up being stored in the attic where, unsurprisingly, it was eaten by mice.
It was sad, but not the end of the world, as there are plenty of other flowers in the world just waiting to be pressed and what better time to rediscover this art than during the height of summer in partial lockdown?
And there are, as I hinted at, various ways of doing this.
You can press your beautiful blooms between the pages of a heavy book or use a special wooden flower press, which seems a bit like cheating to me. They’re both very effective methods, but you have to wait a few weeks for the final product.
If you’re on a mission to get things done fast, you can use an iron, or, if you’re feeling brave, a microwave.
Mum and I decided to attempt the ironing and microwaving methods, with varying degrees of success.
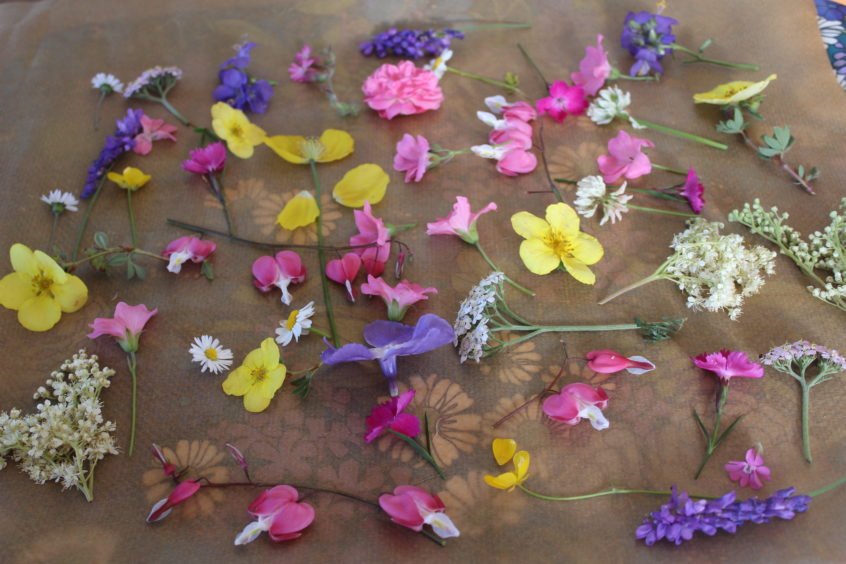
We picked flowers which had been dried out by the sun; wet plants are prone to mould and therefore best avoided.
Having selected a variety of pink, purple, green, white, yellow and orange blooms, we set to work opening them up and flattening them out, in a bid to show off their amazing, intricate details.
I was first to try the microwave method, initially placing my flowers between sheets of greaseproof paper and then putting these into a heavy book bound with rubber bands.
As soon as I switched on the microwave, I knew something wasn’t right – the turntable wasn’t turning because the book was too big.
Disheartened, I decided to try the iron method.
I’d been sure to check the iron’s steam and water features were turned off, but I’d misread the instructions to keep the iron on a low heat, and instead, had it on full-bore.
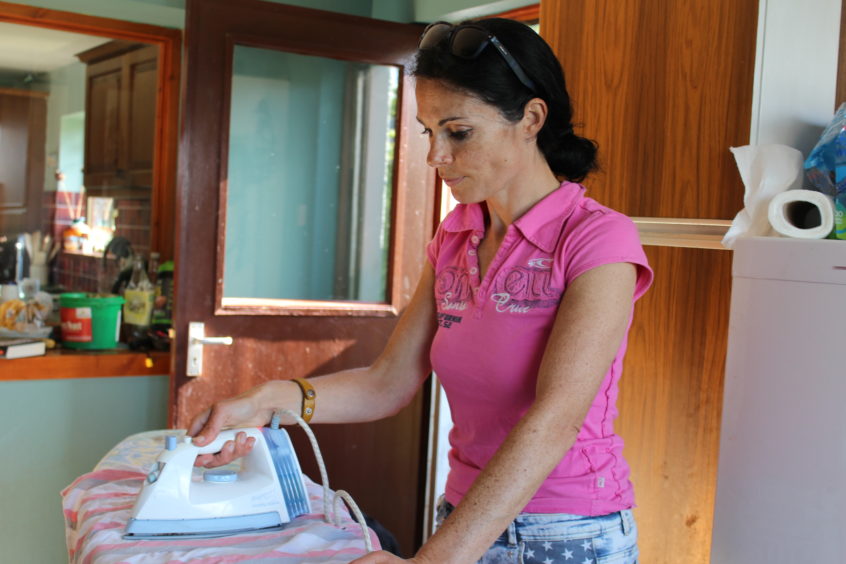
I left the iron on for 15 seconds, then took it off, let it cool down, and repeated this process until my flowers were stiff and completely dry.
It was at this point that the flash, bang and cloying smell of burning filled the kitchen.
Mum, in her microwaving mission, had selected perhaps the one and only book in the house that boasted patches of laminated gold on its cover. To be fair, they were small patches, but they were most definitely gold.
And as we all know, microwaves and metal are not good friends…
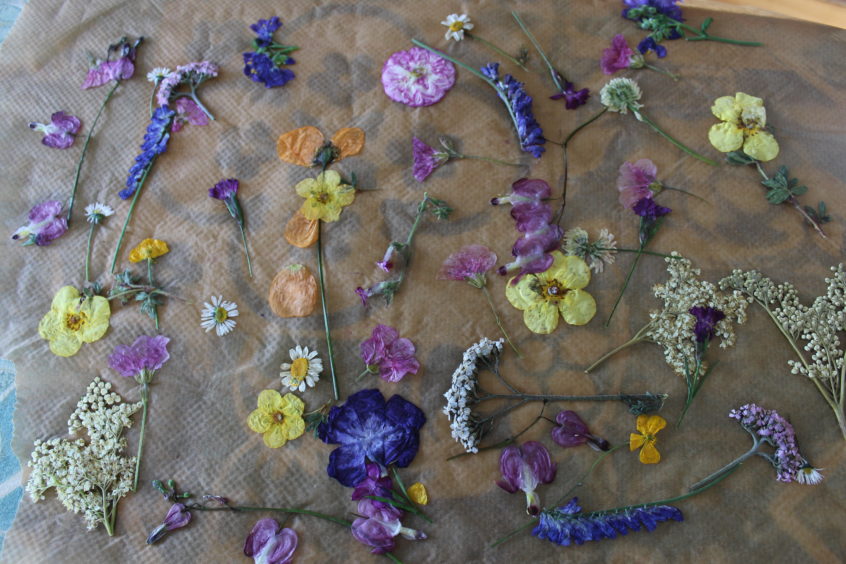
After the initial panic had subsided, we examined the evidence – the charred book cover, several scorched and blackened pages, and the steaming, browning flowers.
Putting this disaster aside, we instead focused on the ironing method which seemed to be less risky. Yes, some of my flowers looked a wee bit discoloured, perhaps because I’d overheated them with the iron, but they were just about acceptable.
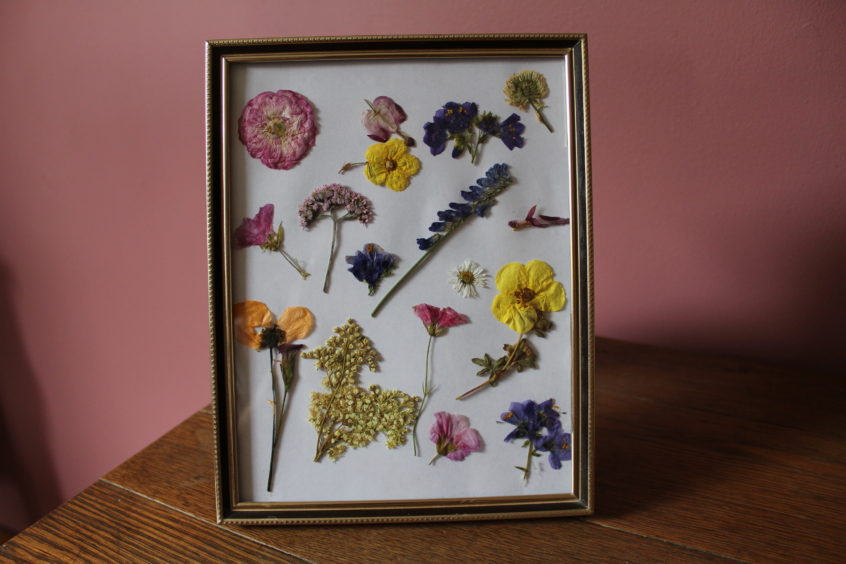
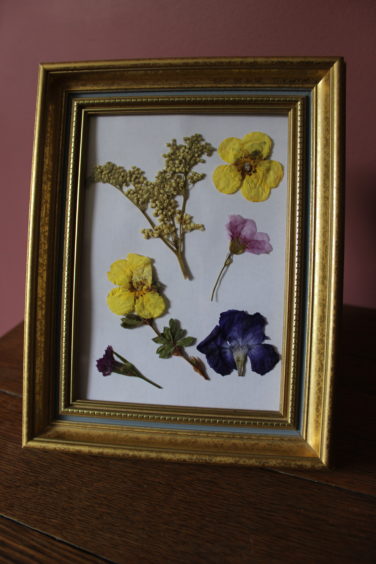
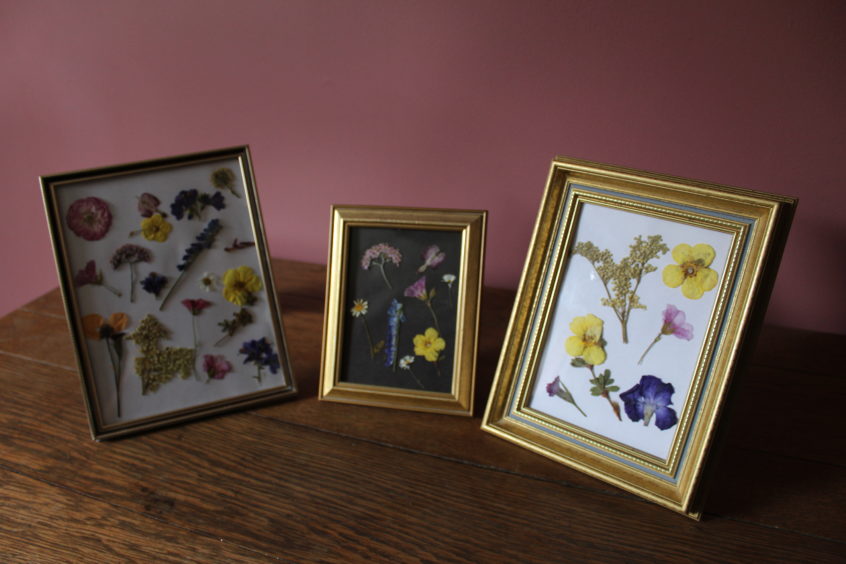
When it came to displaying my floral art, I wasn’t sure whether I wanted to go down the minimalist or maximalist route.
Heck, I’d collected a decent amount of flowers and I wanted to show them off, so I guess I opted for maximalist.
Ideally, I’d have been in possession of a “floating frame” – a glass frame in which the artwork appears to float – or any kind of glass-only frame, but instead, I had to make do with some bog-standard frames I found lying round the house.
I randomly glued the best flowers – rambling rose, potentilla, love-lies-bleeding, pinks, meadowsweet, poppies and purple vetch had worked well – on to sheets of paper and then placed the glass frames over them.
This wasn’t as easy as it sounds. Pressed flowers are extremely fragile so you’re best to pick them up with tweezers.
That’s a tricky, pernickety task, especially if you’ve got a bit of a shaky grip.
My first work of floral art was a bit of a botch job – I hadn’t properly glued the flowers down and a few got squashed when the glass slid down over them. Hopefully this isn’t too obvious…
If you’re not a fan of framing, you can stick your flowers in a letter or birthday card, tape them into a journal, or use them as table decorations.
But whatever you do, if you’re planning on microwaving them, check there’s no metal on the front of your book!
Ultimately, I believe flowers look much prettier alive and in full bloom than on display and dead or dying and a small part of me feels guilty about having cut them down in their prime.
But at least, in their frames, they will live on, perhaps not forever, but for a wee bit longer than in their natural state.
info
When it comes to pressing flowers, freshness and dryness are key.
Choose flowers that are either still in bud form, or that have freshly bloomed.
The flowers should also be in prime condition, free of blemishes or tears. If you can’t press them right away, place them in a ziplock bag and store them in the fridge until you’re ready.
Try choosing a variety of focal flowers and greenery and filler flowers for a unique look. Choose flowers that have a flat bud.
If the bloom is globe-shaped, you can cut it in half so that it’s easier to press.