Calendar An icon of a desk calendar. Cancel An icon of a circle with a diagonal line across. Caret An icon of a block arrow pointing to the right. Email An icon of a paper envelope. Facebook An icon of the Facebook "f" mark. Google An icon of the Google "G" mark. Linked In An icon of the Linked In "in" mark. Logout An icon representing logout. Profile An icon that resembles human head and shoulders. Telephone An icon of a traditional telephone receiver. Tick An icon of a tick mark. Is Public An icon of a human eye and eyelashes. Is Not Public An icon of a human eye and eyelashes with a diagonal line through it. Pause Icon A two-lined pause icon for stopping interactions. Quote Mark A opening quote mark. Quote Mark A closing quote mark. Arrow An icon of an arrow. Folder An icon of a paper folder. Breaking An icon of an exclamation mark on a circular background. Camera An icon of a digital camera. Caret An icon of a caret arrow. Clock An icon of a clock face. Close An icon of the an X shape. Close Icon An icon used to represent where to interact to collapse or dismiss a component Comment An icon of a speech bubble. Comments An icon of a speech bubble, denoting user comments. Comments An icon of a speech bubble, denoting user comments. Ellipsis An icon of 3 horizontal dots. Envelope An icon of a paper envelope. Facebook An icon of a facebook f logo. Camera An icon of a digital camera. Home An icon of a house. Instagram An icon of the Instagram logo. LinkedIn An icon of the LinkedIn logo. Magnifying Glass An icon of a magnifying glass. Search Icon A magnifying glass icon that is used to represent the function of searching. Menu An icon of 3 horizontal lines. Hamburger Menu Icon An icon used to represent a collapsed menu. Next An icon of an arrow pointing to the right. Notice An explanation mark centred inside a circle. Previous An icon of an arrow pointing to the left. Rating An icon of a star. Tag An icon of a tag. Twitter An icon of the Twitter logo. Video Camera An icon of a video camera shape. Speech Bubble Icon A icon displaying a speech bubble WhatsApp An icon of the WhatsApp logo. Information An icon of an information logo. Plus A mathematical 'plus' symbol. Duration An icon indicating Time. Success Tick An icon of a green tick. Success Tick Timeout An icon of a greyed out success tick. Loading Spinner An icon of a loading spinner. Facebook Messenger An icon of the facebook messenger app logo. Facebook An icon of a facebook f logo. Facebook Messenger An icon of the Twitter app logo. LinkedIn An icon of the LinkedIn logo. WhatsApp Messenger An icon of the Whatsapp messenger app logo. Email An icon of an mail envelope. Copy link A decentered black square over a white square.

Tony Watt: The Opta analysis that proves Dundee United striker is about much more than goals

Tony Watt has had a big impact at Dundee United - even without a big goal return.

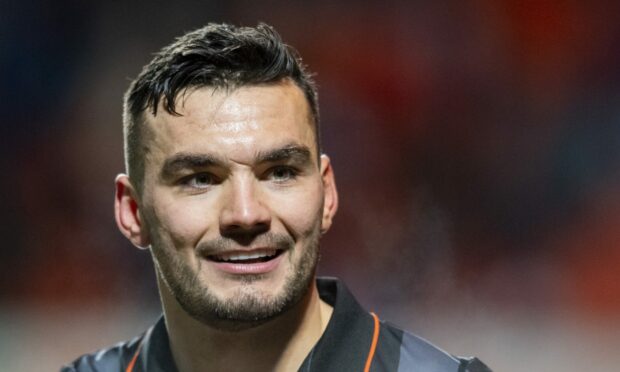
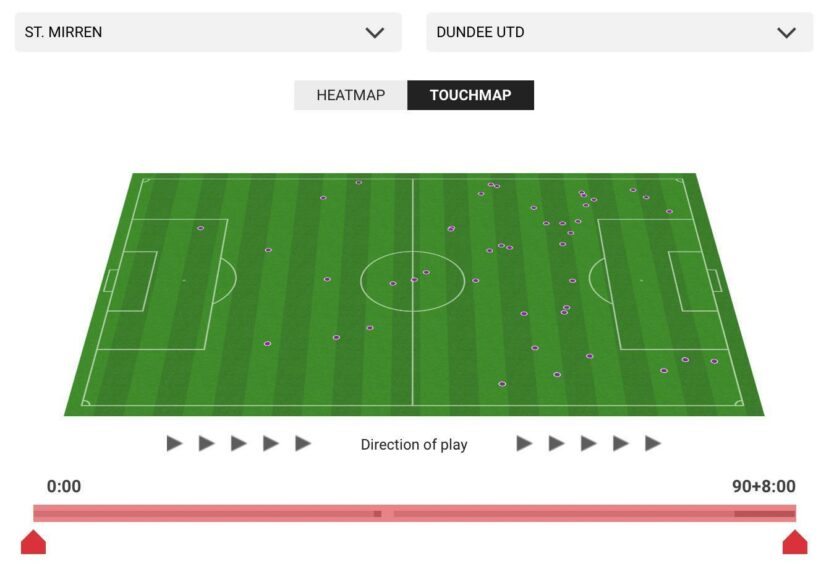
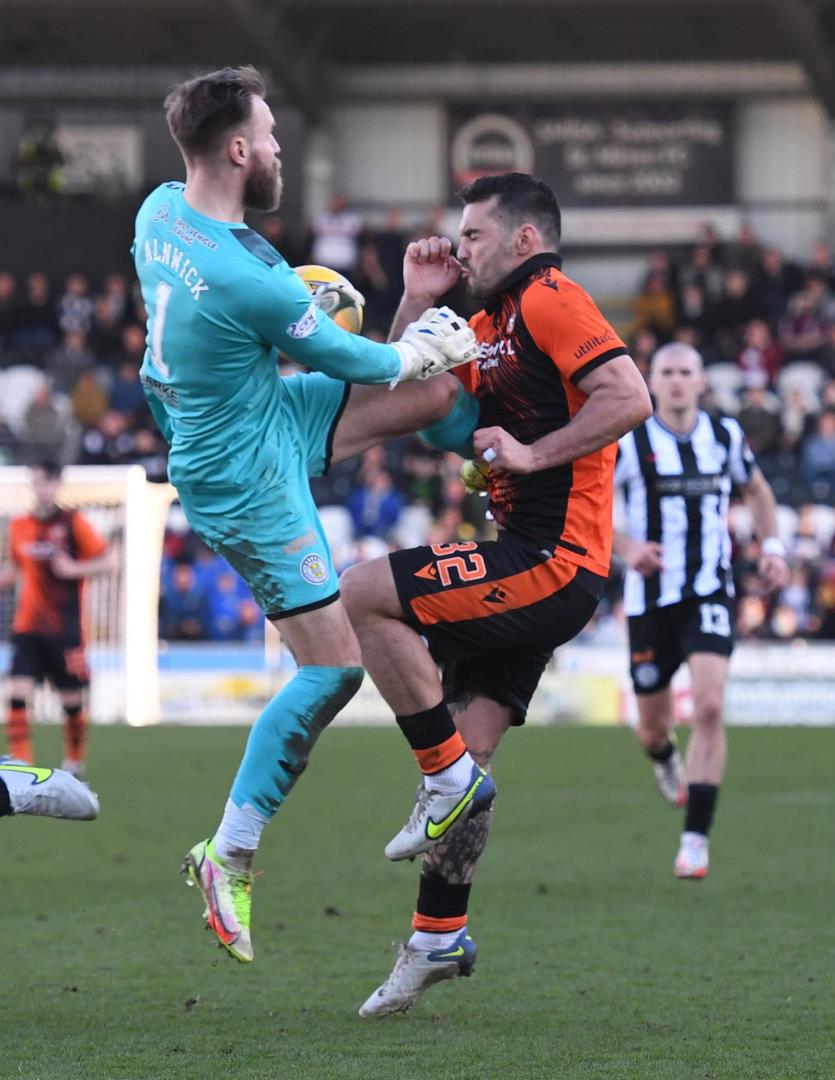
Tony Watt failed to find the net against St Mirren.

The Dundee United striker didn’t register a shot, let alone one on target.

He did not have a single touch of the ball in the opposition’s box.

For a forward who arrived at Tannadice as the top scorer in the Premiership following a prolific first half of the campaign with Motherwell, those facts could seem damning.

Nothing could be further from the truth.

Watt’s touchmap, showing none in the opposition area

Watt’s influence against the Buddies — while operating below 100 per cent, having only just recovered from a muscular injury — stretched well beyond the realms of a predatory front-man.

His performance was outstanding.

A different role cannot be judged solely on goals

Watt is given liberal freedom to roam in this United side, underlined by his heat-map from Saturday.

Varied: Watt’s movement against St Mirren as he probed and pressed

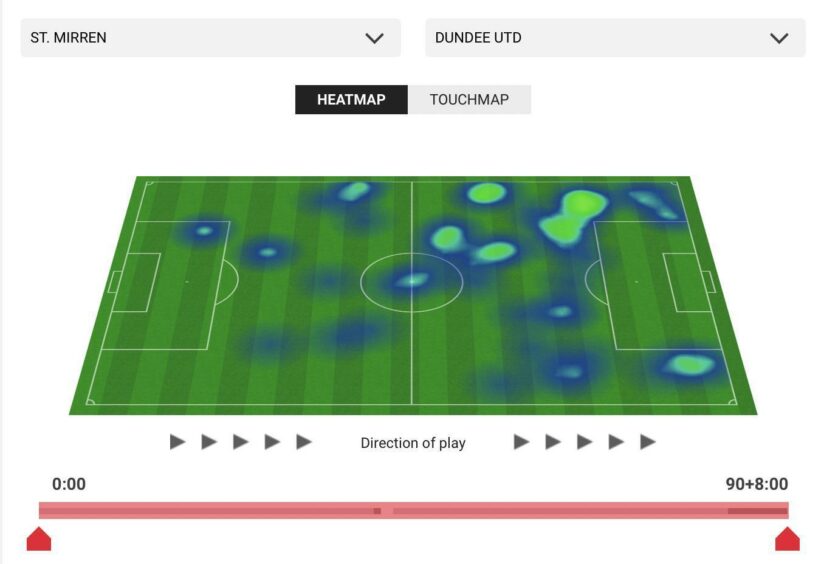
A tireless showing saw him pop up in central-midfield, both wings and, on occasion, even helping Ilmari Niskanen to create an overload in the left wing-back position.

This is in sharp contrast to how he was utilised at Motherwell, usually on the left side of an orthodox front-three.

The heat-map from his last start for the Steelmen — a 2-0 win over St Johnstone — shows far more focus on the final third, looking to cut inside, play off Kevin van Veen and unleash shots.

Focused: Watt’s positioning in Motherwell’s 4-3-3 in December

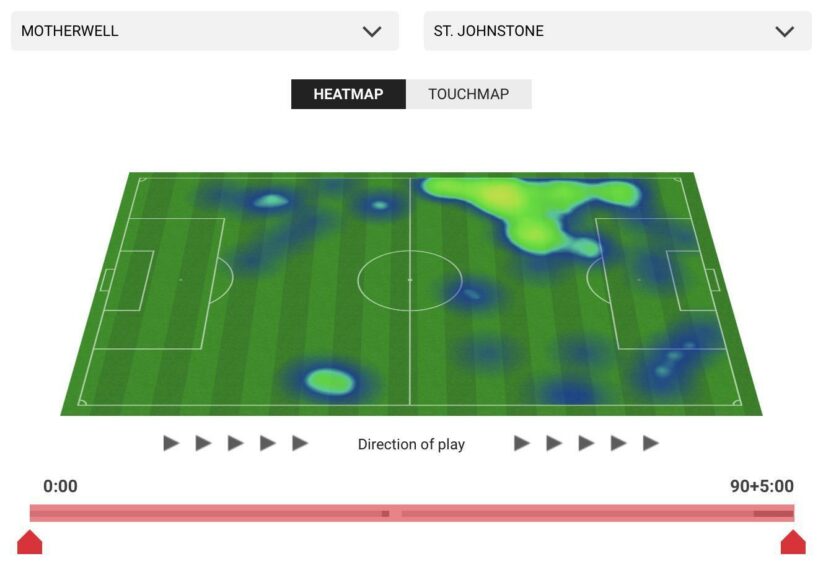
It would be unfair to expect the same output from a fundamentally different role.

A creative force

However, a lack of shots should not be mistaken for a lack of attacking impetus.

Through dropping deep and using his nous to find pockets of space, Watt repeatedly collected possession in dangerous areas and sought to make things happen.

The former Celtic marksman made 19 passes in the final third against St Mirren — more than any other player.

For context, Calum Butcher (15) was his nearest challenger.

A clever run by Watt resulted in Jakub Alnwick being sent off for poleaxing the striker

Only Buddies prospect Jay Henderson and Tangerines loan star Dylan Levitt put in more crosses than Watt’s five.

Beyond the raw numbers, the amount of ground Watt covered, and the regularity with which he held the ball up, was pivotal to the momentum built by United during a swash-buckling second period.

First line of defence

The other benefit of Watt playing in a slightly withdrawn role is it allows him to act as the first line of defence.

Watt won possession seven times, including twice in opposition territory. Only Conor Ronan made more turnovers.

No player was involved in more duels than Watt, level with Ryan Edwards and Joe Shaughnessy on 11. He was never far from the heart of the action.

And while Tam Courts will hope to see the Scotland international back on the scoresheet in the fullness of time, his importance to a properly functioning United side is pivotal, regardless.