Dunfermline Athletic lost their lead at the top of League 1 after a 0-0 draw versus a resolute Kelty Hearts.
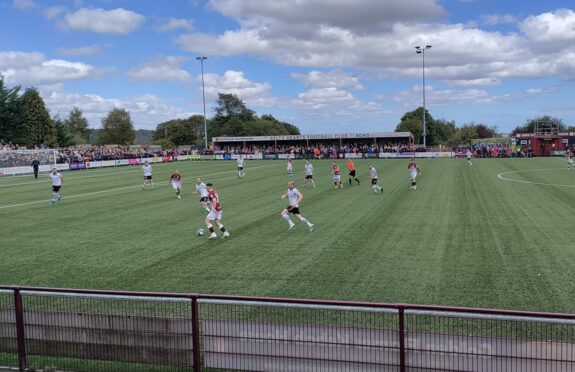
Fans packed into the away end for the West Fife derby at the newly renovated New Central Park but it was the home support that left the happier.
⚽🇱🇻🏁
Kelty Hearts v DunfermlineNew Central Park is filling up nicely, Pars fans already packed behind the goals. pic.twitter.com/veALiZPLGa
— Craig Cairns (@craigcairns001) August 20, 2022
Kelty edged the first half but failed to convert when on top and put in a defensive masterclass in the second period to see out the game.
Key moments
It was John Potter’s side that started better, keeping possession better than Dunfermline.

While the Pars grew more into the game as the half progressed they didn’t trouble Kelty keeper Darren Jamieson.
The better chances came at the other end, with Rhys Breen expertly blocking Scott McGill’s effort and Deniz Mehmet forced into a save by Darren Lyon.
That latter chance came from Chris Hamilton failing to clear the ball properly, one of a few uncharacteristically slack moments from Dunfermline.
Dunfermline’s best opportunity of the opening 45 fell to Breen but he headed straight at Jamieson.
In the second half it was all Dunfermline though the closest they came was with around 10 minutes left when substitute Nikolay Todorov saw his close-range effort saved.
Kelty Hearts star man: Darren Jamieson
Captain Michael Tidser was excellent in the middle of the park, ditacting while rarely giving the ball away and guiding his team throughout the match.
Jordan Forster and debutant – and former Par – Steven Bell were concrete at the heart of the defence but Jamieson saved the point towards the end.
𝐖𝐄𝐋𝐂𝐎𝐌𝐄 𝐓𝐎 𝐊𝐄𝐋𝐓𝐘 𝐇𝐄𝐀𝐑𝐓𝐒, 𝐒𝐓𝐄𝐕𝐄𝐍 𝐁𝐄𝐋𝐋!
The experienced defender joins the club after leaving Partick Thistle in the summer.
Welcome to New Central Park Steven!https://t.co/IXmzUdXEfg pic.twitter.com/5bdvnppSGL— Kelty Hearts FC 🇱🇻 (@KeltyHeartsFC) August 9, 2022
He saved Todorov’s point-blank effort and later tipped away a dangerous cross looping towards his goal with Dunfermline players queuing up to score.
He also ran the clock down with his time-wasting, not helped by an object or two thrown at him by the away support during a goal kick.
Dunfermline star man: Rhys Breen
It’s probably no surprise that two central defenders have been selected but this was not a classic attacking performance from Dunfermline.
They were slightly outplayed in the first half and while they dominated the second half they were met by a stubborn Kelty defence.
Breen missed a good chance to put his side ahead in the first half but before that his block from McGill’s effort kept the scores level.
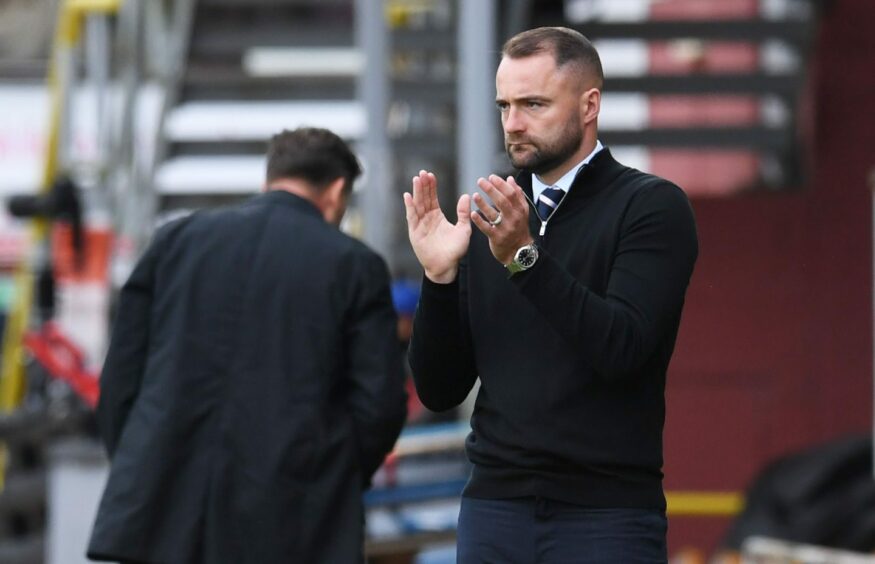
Managers under the microscope
McPake understandably stuck with the same side that won at home to Montrose the previous week – adding new boy Sam Fisher to the bench.
He changed things quickly with a triple sub and move to a back three early in the second half but the change didn’t work as well as it did the previous week in the win over Montrose.
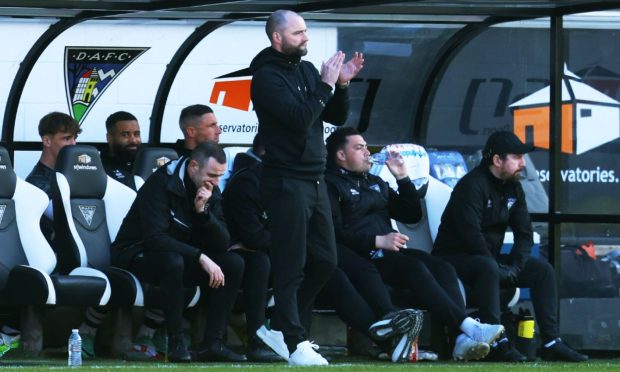
Potter gave a debut to Bell and first starts to Lyon and McGill, making a total of four changes from the 3-0 defeat to Clyde.
Despite that result, the Kelty boss went toe to toe with his former side, who enjoyed the better of the first half.
Potter made sure Dunfermline midfielder Hamilton was closed down every time he was on the ball and made the right changes to stem the flow in the second half.
Man in the middle
Thankfully it was one of those matches where the referee was largely quiet.
There were a few grumbles at the odd decision but referee Graham Grainger kept things under control – even during a few heated moments between players.
Dundee manager Gary Bowyer reveals Sam Fisher discussion before Dunfermline loan move


Conversation