There are some games that almost belie analysis.
One does not require a spreadsheet to know that Efe Ambrose shouldn’t have been so meekly out-muscled on the flank by Bruce Anderson prior to Odin Bailey’s opener.
A heat-map will tell you nothing new about Jamie McCart allowing a Zander Clark pass to ricochet off his heel into the path of Anderson, who made it 2-0.
Talk of xG is irrelevant amid the sort of comical miscommunication which resulted in Ambrose and Michael O’Halloran careering into each other before Scott Pittman made it 3-0.
Livingston secured a first Premiership away win since February with an emphatic 3-0 victory over St Johnstone at McDiarmid Park on Saturday afternoon! 🔥
Match highlights 👇 pic.twitter.com/awErP0iwRr
— Sky Sports Scotland (@ScotlandSky) October 16, 2021
In short, it is plainly obvious why St Johnstone lost to Livingston.
As boss Callum Davidson stated, it was a ‘sloppy’ showing in which his side ‘didn’t meet the standards we have set’.
Nevertheless, away from the uncharacteristically porous defending, there was plenty to learn with a dive into the statistics from the McDiarmid Park showdown.
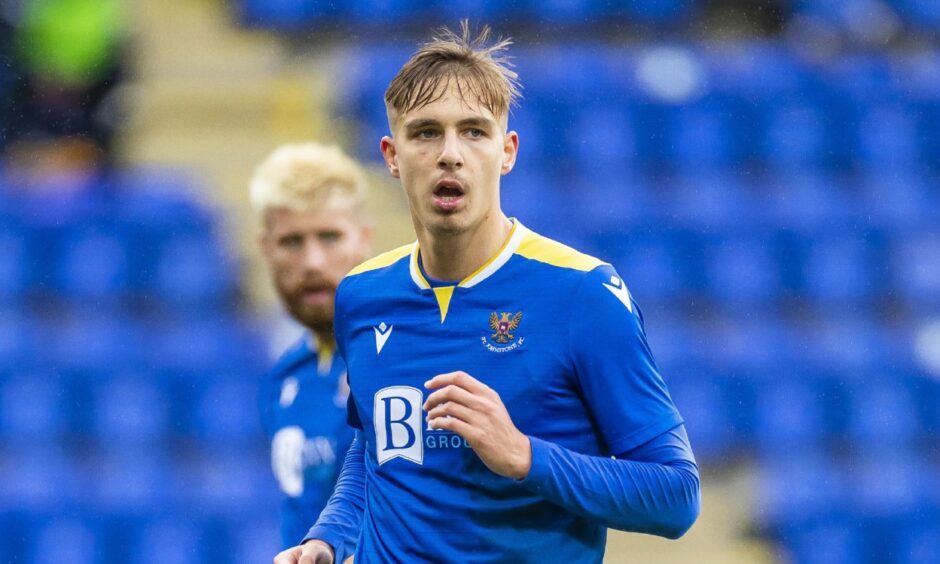
Jamie McCart focus
McCart, a fine defender and a mainstay for the Saints, will have more enjoyable days at the office.
His failure to sort out his feet to collect a Clark pass allowed Livi to double their advantage. That is an obvious, regrettable moment — but one from which he will undoubtably bounce back.
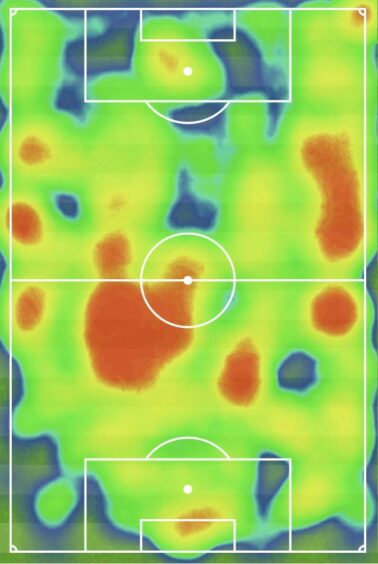
More intriguing was the sheer amount of the ball McCart saw, with remarkable 111 touches.
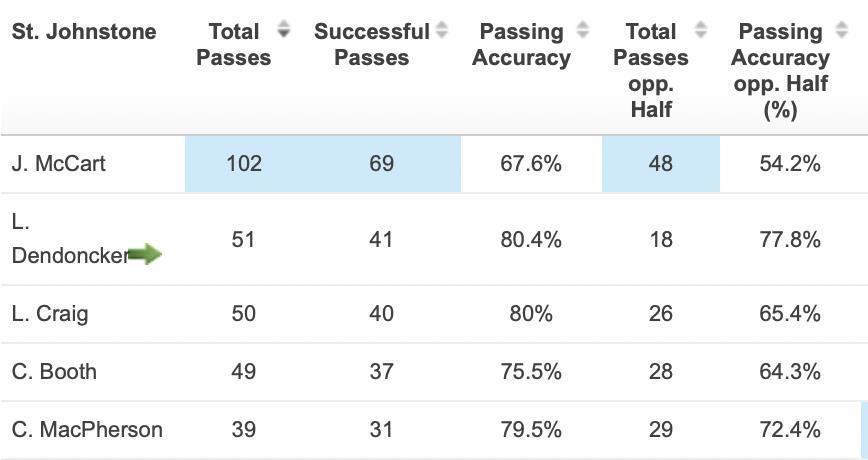
For context, no St Johnstone player had touched the ball more than 100 times in a Premiership fixture all season before Saturday.
He made 102 passes — double that of his nearest challenger (Lars Dendoncker with 51) — with 67.6 per cent accuracy.
Livingston were clearly happy to allow McCart to step out from the back while they remained compact and ready to spring on the break. Boss Davie Martindale can feel content that his strategy paid dividends.
Set play luck must change
There was a standout moment of creativity and finesse for the Saints fans to enjoy on Saturday.
Cammy McPherson lofted a corner towards the edge of the box as the surge of blue jerseys dragged their markers towards the goal-mouth.
That left Liam Craig free as a bird to fire towards target.
His effort kissed the cross-bar and bounced to safety. Nevertheless, it was a laudable corner routine and illustrative of the work being done on the training pitch.
All of which makes it even more remarkable that St Johnstone now find themselves as the only side in the Scottish Premiership not to have scored from a set-play.
That is despite the Saintees boasting an xG (Expected Goals) from set-plays of 2.1 (StatsPerform). That is better than both Dundee clubs, Hibs and Ross County.
Underlying numbers suggest St Johnstone’s luck in that regard will change.
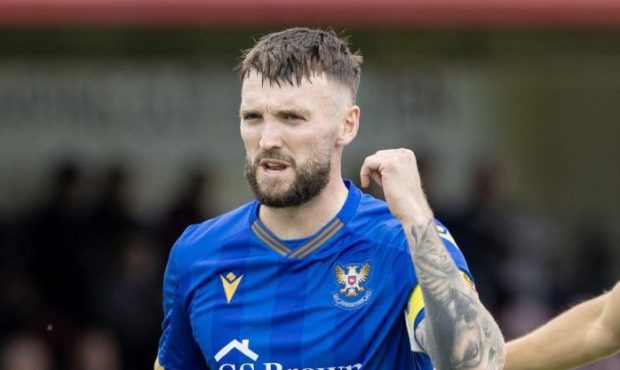
Dendoncker duels
The severity of the ankle injury sustained by Shaun Rooney remains to be seen.
However, as the Saints scan for silver lining, the performance of Lars Dendoncker fits the bill.
The on-loan Brighton stopper won 78.6 per cent of his duels after replacing Rooney with 22 minutes on the clock.
That was second only to James Brown, whose 80 per cent comes from a far smaller sample size given he entered the fray as a second-half substitute.
As mentioned, Dendoncker’s 51 attempted passes were second only to McCart — but he achieved 80.4 per cent accuracy.
It is impossible to replace the intensity and inspirational qualities of Rooney but, should an alteration at centre-half be required against Celtic, the big Belgian did himself no harm.
Livingston did their homework
St Johnstone’s threat, such as it was, primarily came down the right flank.
O’Halloran was a willing runner — albeit none of his six attempted crosses found their target — and McPherson drifted towards that flank. Dendoncker also stepped into the channel as the Saints pushed forward.
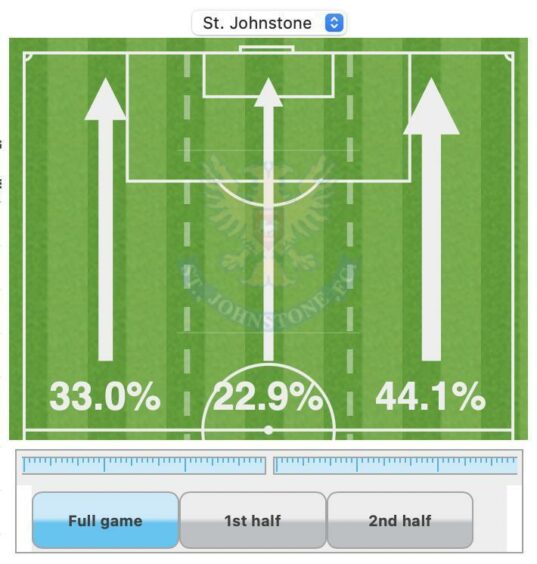
However, Livi should be commended for doing their homework.
They were organised, narrow and had enough bodies centrally to smother any threat emanating from the wing.
It is far from the first time Livi have shown a willingness to surrender the flanks and back themselves to defend the penalty box against the Callum Davidson’s men.
The strategy helped the Lions claim two victories and a 0-0 draw against St Johnstone last term — and it was deja vu all over again.